Having a unique username for your HoganHost account makes logging in easier and helps personalize your account experience. If you haven’t set a username yet or need to update it, follow these simple steps to create or change your username directly from your HoganHost dashboard.
Step 1: Log in to Your HoganHost Dashboard
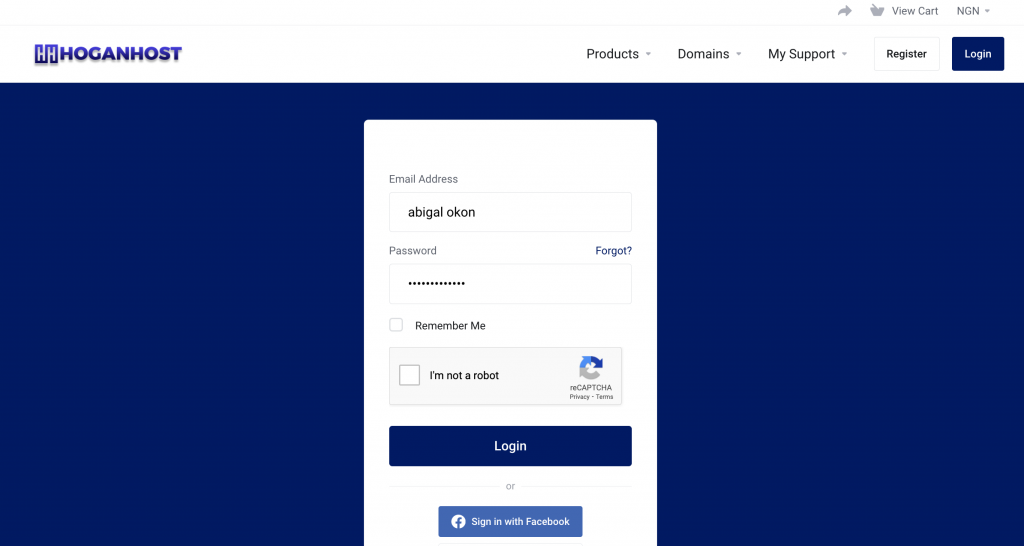
Begin by logging into your HoganHost account. Visit HoganHost and click on the “Login” button at the top right corner of the homepage. Enter your email address and password to access your dashboard.
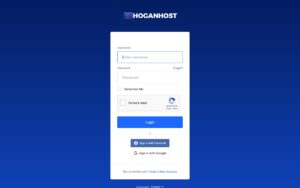
Step 2: Navigate to the “My Details” Section
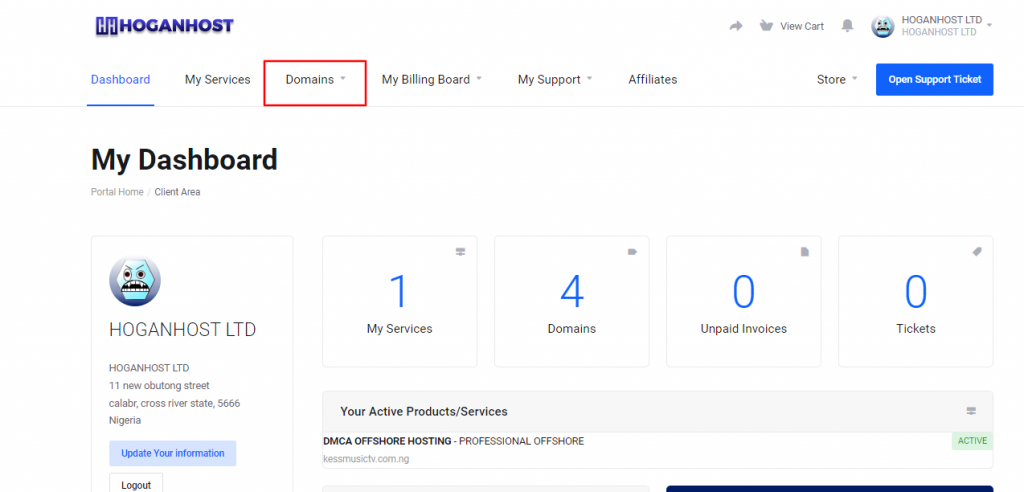
Once you are logged in, you’ll be directed to your dashboard. On the top bar of the dashboard, you’ll see an option labeled “My Details.” Click on this option to access your account details page.
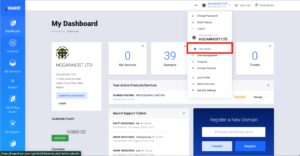
Step 3: Scroll Down to the “Additional Information” Section
On the “My Details” page, scroll down until you find the “Additional Information” section. Here, you’ll see a box labeled “Username.” This is where you can set or update your username.
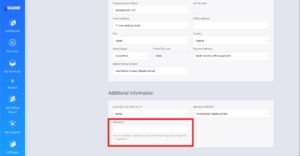
Step 4: Enter Your Desired Username
In the “Username” box, type in the username you want to use. Make sure it’s unique and something you can easily remember. This username will be your new login credential, so choose carefully.
Step 5: Save Changes
After entering your preferred username, scroll to the bottom of the page and click on the “Save Changes” button. This will update your account with the new username. You’re all set!

Conclusion
That’s it! Your new username is now set and ready to use. The next time you log in to your HoganHost account, simply use this username along with your password. Setting a username not only enhances your login experience but also adds an extra layer of personalization to your HoganHost account.
If you encounter any issues or need further assistance, don’t hesitate to reach out to our support team. We’re always here to help!
Check out our cheap and reliable web hosting hoganhost.com.ng

