In this tutorial, you will learn how to upgrade or downgrade your hosting package on HOGANHOST.
Now, let’s get started.
Firstly, you need to login to your client area on HOGANHOST LTD, visit https://hoganhost.com.ng/client to login to your client area using your email and password.
On the menu tab, navigate to Services>>My Services 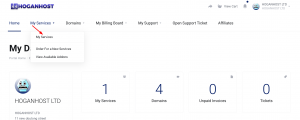
Now click on the hosting account you want to upgrade/downgrade, in this tutorial, I will be upgrading demo-hoganhost.com.ng 
Now click on the Upgrade/Downgrade button and then it will take you to a page where you select which plan you are upgrading or downgrading to. 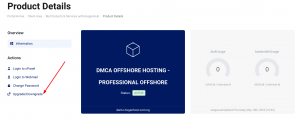
Here, I will be selecting the DMCA OFFSHORE HOSTING – MINI OFFSHORE and also select 1 month as my billing cycle. You can also select 12 months (1 year) as your billing cycle, that depends on your budget. 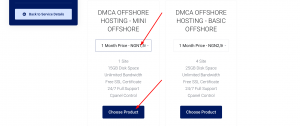
Once you choose your plan, the system will take you to the next page where you are to select your payment method. 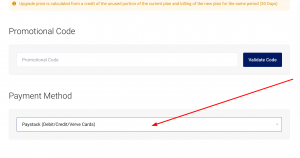
once you have choose your payment method click on check out to make payment to your upgrade service. 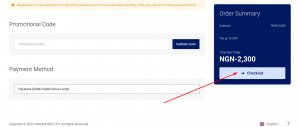
now you will be redirected to the payment gateway to make a payment for your upgrade service and once your payment is successfully make you see a success page which means your hosting account has been upgraded.
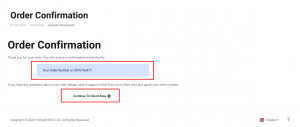
You can see it has been upgraded, that is how easy it is to upgrade your hosting account on HOGANHOST.
If you need further help on how to do this, kindly drop a comment here or contact us on support ticket or via mail [email protected]

