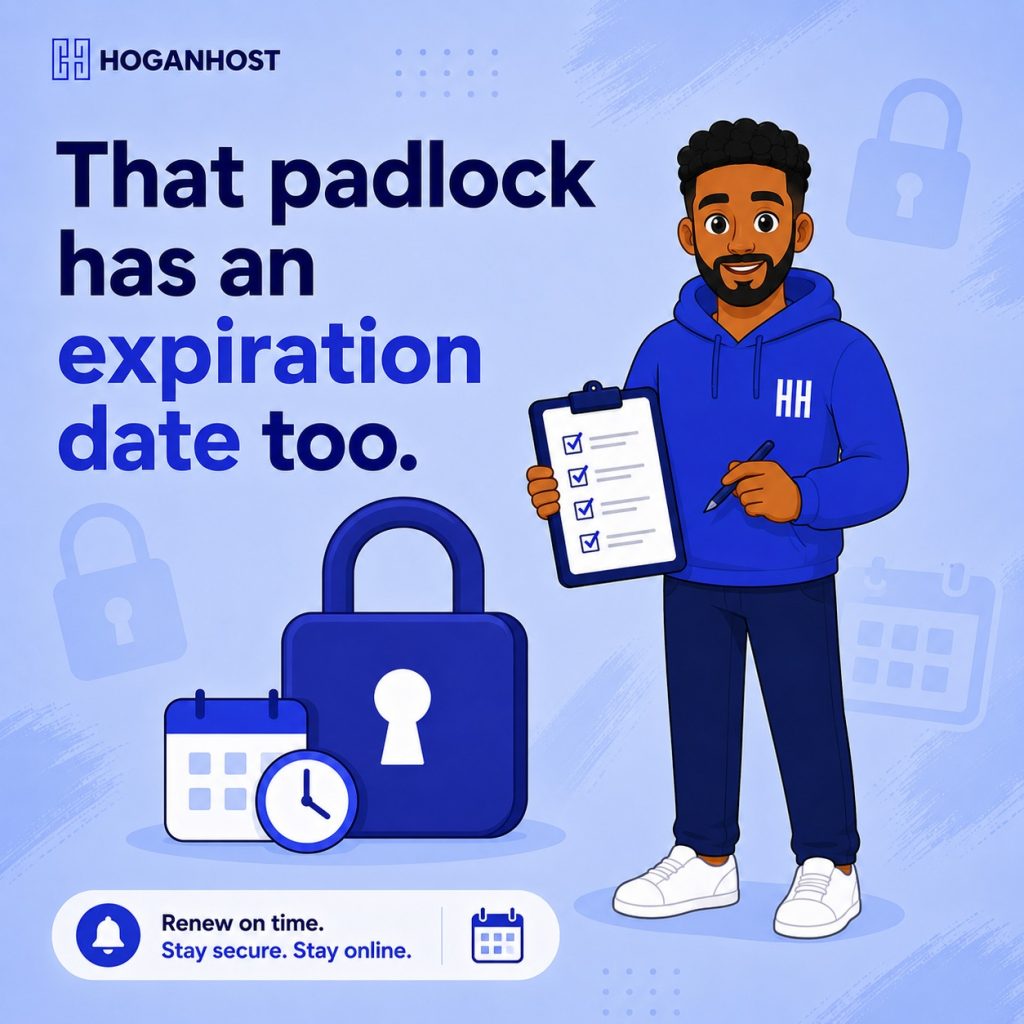
An SSL certificate is not a one-time setup. It expires, and when it does without renewal, your visitors suddenly see the exact “Not Secure” warning you originally installed it to avoid. Here is how to keep your certificate current and avoid that lapse entirely.
Step 1: Know Your Certificate’s Expiration Timeline
Free SSL certificates issued through Let’s Encrypt, the most common option bundled with modern hosting, are valid for 90 days at a time, meaning they require renewal roughly every three months. Paid certificates from other certificate authorities typically run on a longer cycle, often one year, sometimes longer. Confirm which type your website currently uses, since this determines how frequently renewal genuinely needs your attention.
Step 2: Confirm Whether Automatic Renewal Is Actually Enabled
Most modern hosting control panels include an AutoSSL feature that automatically renews Let’s Encrypt certificates before they expire, without requiring any manual action on your part. Check your SSL/TLS section within your control panel to confirm this automation is genuinely active for your domain, rather than assuming it by default.
Step 3: Manually Renew If Automatic Renewal Is Not Available Or Has Failed
If your certificate is not covered by automatic renewal, or if you notice an automatic renewal has failed for some reason, you can manually reissue your certificate.
- Log in to your hosting control panel and navigate to the SSL/TLS section.
- Select the domain needing renewal.
- Choose to reissue or renew the certificate, selecting the free Let’s Encrypt option if that is what you are using.
- Submit the request and allow a few minutes for the new certificate to be issued and applied.
Step 4: Confirm Your DNS Is Correctly Pointed Before Renewing
SSL certificate issuance and renewal both require verifying that your domain’s DNS is correctly pointed to your server. If you have recently changed hosting, nameservers, or DNS records, confirm everything is properly configured before attempting a renewal, since a misconfigured DNS setup will cause the renewal request to fail.
Step 5: Set Up Expiration Monitoring As A Backup Safety Net
Even with automatic renewal enabled, it is worth setting up an independent monitoring alert that notifies you if your certificate’s expiration date is approaching without a successful renewal having occurred. This catches the rare cases where automation fails silently, giving you time to intervene manually before visitors ever see a warning.
Step 6: Check That Renewal Covers Every Version Of Your Domain
Confirm your certificate renewal includes every variant of your domain that visitors might actually reach, including both the root domain and the www version, and any relevant subdomains. A certificate that only covers one version while visitors land on another will still trigger a security warning for that specific address.
Step 7: Test Your Site After Renewal Completes
Once a renewal has processed, whether automatically or manually, visit your website directly and confirm the padlock icon displays correctly, with no warnings or mixed content issues. This quick check confirms the renewal genuinely took effect rather than assuming success based on the process completing without an error message.
Step 8: Understand What Happens If A Certificate Does Lapse
If your certificate does expire before renewal, your website will immediately begin showing the “Not Secure” warning, or in more strict configurations, may become entirely inaccessible until the certificate is renewed. This is exactly why proactive renewal, rather than reactive fixing after visitors have already encountered the warning, matters so much for maintaining consistent trust.
Step 9: Consider Paid Certificates For Specific Extended Validation Needs
While free Let’s Encrypt certificates provide the same core encryption as paid options and are entirely sufficient for most small businesses, certain situations, like extended validation certificates that display additional company verification details, require a paid certificate with a different renewal process and timeline. If your business has specific compliance or brand trust requirements beyond standard encryption, discuss these needs directly with your hosting provider.
Step 10: Keep A Simple Renewal Reminder Even With Automation In Place
Set a personal calendar reminder a few weeks ahead of your certificate’s expected renewal window as a simple backup habit, regardless of whether automatic renewal is configured. This costs almost nothing in effort and provides genuine peace of mind that you will notice and address any issue well before it becomes visible to your visitors.
Common Mistakes To Avoid
- Assuming automatic renewal is active without ever confirming it directly.
- Ignoring a renewal failure notification, letting the certificate actually lapse before addressing it.
- Forgetting to cover both the root domain and www version in the certificate renewal.
- Never testing the site after a renewal, missing a failed or incomplete renewal until a visitor reports the warning.
Renewing an SSL certificate before it expires is a small, routine task once you understand your certificate’s specific renewal cycle and confirm automation is genuinely working, rather than a recurring source of last-minute stress.
Want hosting with free SSL and reliable automatic renewal built in? Get secure hosting plans from HoganHost and never worry about a lapsed certificate again.