Moving your domain and your website to a new host simultaneously adds real complexity compared to a straightforward hosting migration alone. Handled carefully, it is still very manageable. Here is how to do both at once without losing anything along the way.
Step 1: Understand Why Doing Both Together Requires Extra Care
A domain transfer moves who manages your domain’s registration. A hosting migration moves where your actual website files and database live. When you combine both, you need to sequence your steps carefully, since rushing the domain transfer before your website is fully ready on the new host can create a window where your site is technically pointed nowhere functional.
Step 2: Start With The Website Migration First
Begin by setting up your website on your new hosting account while your domain still points to your old host. This lets you build and thoroughly test your new hosting environment without any pressure or visible impact on your live, currently working website.
- Take a full backup of your current website files and database.
- Set up your new hosting account and transfer your files and database over.
- Update any configuration files, like wp-config.php for WordPress, to connect to your new database.
Step 3: Test Your Website Thoroughly On The New Host Before Touching Your Domain
Use a temporary URL your new host provides, or edit your local computer’s hosts file to preview the new site privately, confirming everything works correctly, pages load, images display, forms function, before making any domain-related changes. This step matters even more when combining a domain move with a hosting move, since you want maximum confidence before initiating the next, less easily reversible step.
Step 4: Begin Your Domain Transfer Process Separately
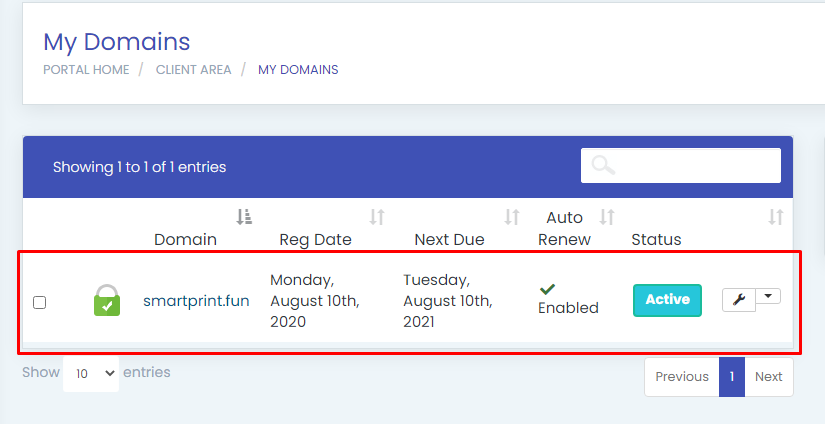
Once your website is confirmed working correctly on the new host, begin the domain transfer process itself. This typically involves unlocking your domain, retrieving your authorization code from your current registrar, and initiating the transfer at your new registrar. Domain transfers generally take around five to seven days to complete, so this step runs on its own separate timeline from your website migration.
Step 5: Point Your Domain’s DNS To Your New Host While The Transfer Is Still Processing
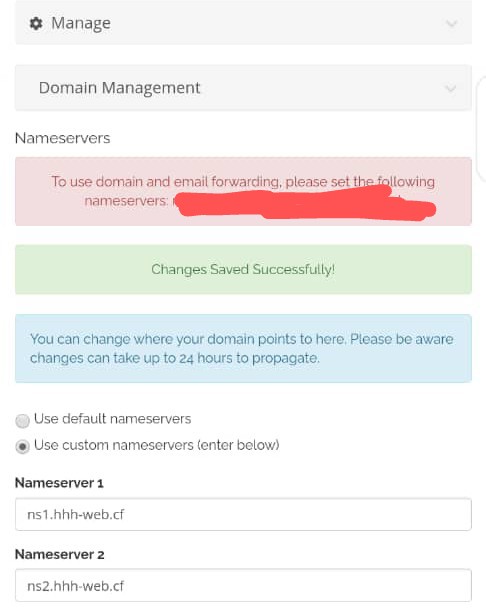
You do not need to wait for the domain transfer itself to fully complete before pointing your domain to your new hosting server. Update your domain’s nameservers or DNS records to point to your new host as soon as your website is confirmed ready, since this DNS change is what actually makes your website live on the new host, independent of which company technically manages your domain registration.
Step 6: Allow Time For DNS Propagation
Once you update your DNS settings, allow the standard propagation window, typically a few minutes up to around 24 hours, for this change to fully spread across the internet. Your website may briefly show inconsistently across different locations during this window, which is normal and resolves on its own with patience.
Step 7: Confirm Your Domain Transfer Completes Successfully
While DNS propagation is happening independently, keep an eye on your domain transfer status too, approving the confirmation email sent to your registered contact address when it arrives. Once both the DNS propagation and the domain transfer have completed, your domain is fully under your new registrar’s management and pointing correctly to your new hosting.
Step 8: Set Up Email Carefully Throughout This Process
If your business email is tied to your domain, plan its migration alongside both the website and domain moves. Confirm your MX records are correctly configured to point to wherever your email will be hosted going forward, since email routing depends on the same DNS system as your website, but uses a separate specific record.
Step 9: Keep Your Old Hosting And Registrar Access Active During The Transition
Do not cancel your old hosting account or assume your old registrar relationship is fully done until you have confirmed everything- website, domain, and email- is working correctly on the new setup. Keeping both active for a short overlap period gives you a genuine safety net if anything unexpected surfaces during this more complex, combined transition.
Step 10: Do A Final, Thorough Check Once Everything Has Settled
Once DNS has fully propagated and your domain transfer has completed, do a comprehensive final check: your website across multiple pages and devices, your email sending and receiving correctly, and your domain showing the correct new registrar in a WHOIS lookup.
Common Mistakes To Avoid
- Starting the domain transfer before your website is fully tested and ready on the new host.
- Forgetting that domain transfers and DNS propagation run on separate, independent timelines, and trying to force them into perfect sync.
- Neglecting email migration while focused entirely on the website and domain moves.
- Canceling old hosting or registrar access too soon, before confirming everything works correctly on the new setup.
Moving a domain and website together is genuinely manageable when you sequence the steps thoughtfully, building and testing your new website first, then layering the domain transfer and DNS changes carefully on top, rather than trying to rush everything simultaneously.
Ready to move both your domain and website to a provider that makes this transition smooth? Get started with HoganHost’s domain and hosting services and get support through every step of your combined migration.