Custom Nameservers on VPS and Dedicated Hosting are required when you are using multiple cPanels. This tutorial will walk you through how to set them up to use with your domains.
If your domain is registered elsewhere, you will need to configure the nameservers there.
Adding the Custom Nameservers
- Login to your Domain Provider Dashboard.
- Click Domains in the top navigation bar.
- Select the domain in the Domain List toward the bottom of the page.
- Click Name Servers to the right of the domain.
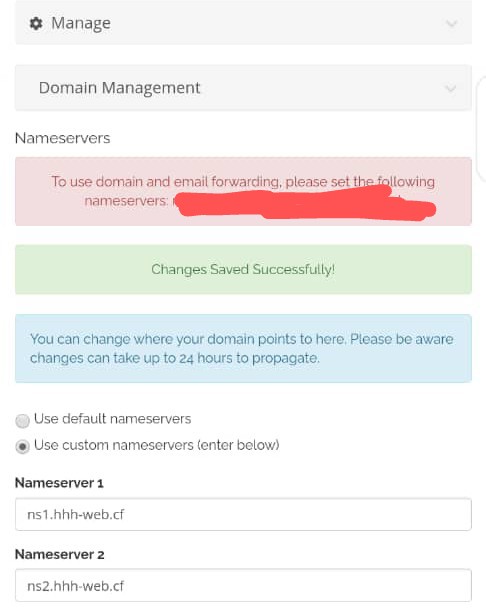
- Select Custom Nameservers and enter the nameservers for your account and save it.
- ns1.example.com
- ns2.example.com
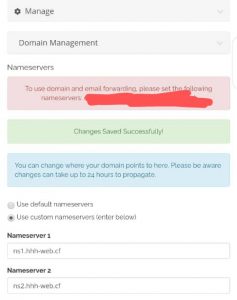
If you do not have the A records setup for the nameserver, follow the below steps
Setting the Custom A Records for your Nameservers
If you know that you have the A records already, you can skip this section.
- Log in to your Domain Provider Dashboard.
- Click Domains in the top navigation bar.
- On the Quick Navigation bar click Zone Editor.
- Under Add DNS Record fill out the following fields:
- Host Record: ns1
This can be anything that you would like, but you will need to remember what it is when you are entering the custom nameservers. For simplicity ns1 or ns2 works well.
- TTL: 14400
- Type: A
- Points To: xxx.xxx.xxx.xxx
This has to be one of the IP addresses assigned to the hosting account.
- Host Record: ns1
- Click Add Record
Repeat if you would like to have more than one nameserver record.
Hola, Hope this help, if you have any problem kindly drop comment below

