You just signed up for reseller hosting, and now you have access to WHM for the first time. It looks like a lot at first glance: dozens of icons and settings you have never touched before. Here is everything you need to know to get comfortable and set up correctly from day one.
What WHM Actually Is
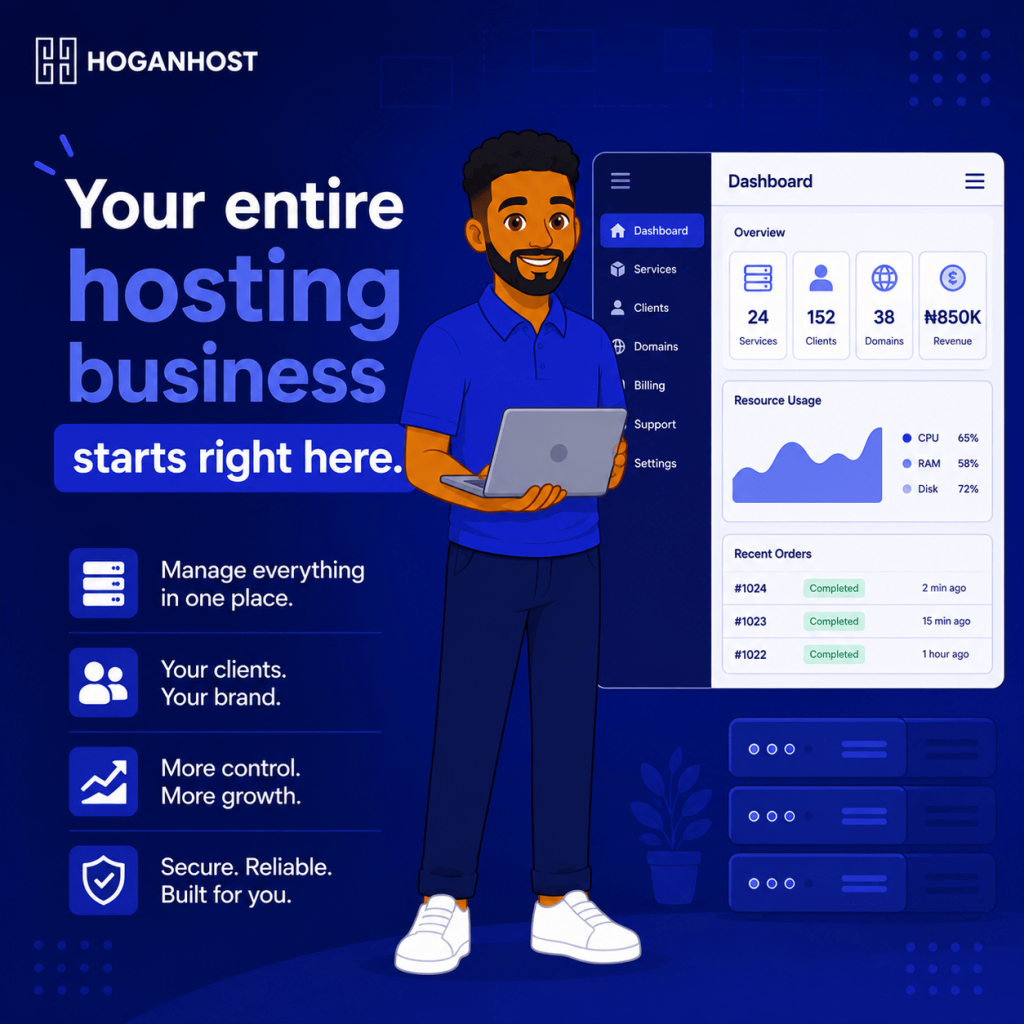
WHM, short for WebHost Manager, is the admin-level control panel that sits above the individual cPanel accounts you create for your clients. While each of your clients manages their own website through their own cPanel, you manage the entire server, or your allotted portion of it, through WHM.
Think of it as the master dashboard for your hosting business. Every client account, every package you offer, and every server-level setting flows through this one interface.
Step 1: Log In And Get Familiar With The Layout
Your hosting provider will send you a WHM login URL along with your credentials. Once logged in, take a few minutes simply to explore the sidebar categories before making any changes. WHM organizes its features into logical sections, including account management, packages, DNS functions, and security settings, and understanding this layout first will save you time later.
Step 2: Create Your First Hosting Package
Before you can create a client account, you need at least one package defined, which determines how much disk space, bandwidth, and features each client account under that package receives.
- Navigate to the Packages section in WHM.
- Click to add a new package.
- Set your desired disk space, bandwidth, and any specific feature restrictions for this tier.
- Save the package with a clear, descriptive name, since you may create several packages representing different client tiers over time.
Step 3: Create Your First cPanel Account
With a package in place, you can now create an actual client account.
- Go to the Account Functions section and select Create a New Account.
- Enter the domain name, desired username, and a strong password under Domain Information.
- Select the package you created in the previous step.
- Under Mail Routing Settings, choose Automatically Detect Configuration, which is the recommended default for most setups.
- Under DNS Settings, confirm the nameservers that will be applied to this account’s records.
- Click Create, and WHM will provision the new cPanel account automatically.
Step 4: Set Up Your Private Nameservers
As a reseller, you likely want your clients to see your own brand, not your hosting provider’s name, in their domain’s nameserver records. Setting up private nameservers, registered under your own domain, lets you present a fully white-labeled hosting experience.
Once configured, you can also set these as the default nameservers applied automatically to every new account you create going forward, saving you from manually setting this for each client.
Step 5: Understand The Difference Between Your Reseller Tiers
Depending on your specific reseller plan, you may have access to different account creation levels. A standard reseller plan typically lets you create and manage cPanel accounts directly, while higher tiers, sometimes called Master or Alpha reseller levels, allow you to create and resell WHM access itself to sub-resellers beneath you.
Understand which tier your plan falls under before promising specific capabilities to your own clients.
Step 6: Set Up Billing Automation If You Plan To Scale
Manually tracking renewal dates and issuing invoices works for a handful of clients, but quickly becomes unsustainable as you grow. Many resellers integrate WHM with a billing automation tool like WHMCS, which handles invoicing, automatic account suspension for non-payment, and account provisioning without manual intervention on your part.
Step 7: Review Your Security Settings Early
Since WHM gives you administrative control over multiple client accounts, securing it properly matters even more than securing a single cPanel account.
- Enable two-factor authentication on your WHM login if your provider supports it.
- Review which IP addresses are allowed to access your WHM login, restricting it where practical.
- Keep your WHM and cPanel software updated, since your provider typically handles core server updates, but any custom plugins or tools you install remain your responsibility to keep current.
Step 8: Learn To Suspend, Terminate, And Manage Existing Accounts
Beyond creating accounts, you will regularly need to manage existing ones. Familiarize yourself with:
- How to suspend an account, typically used for non-payment, without deleting the client’s data.
- How to fully terminate and remove an account when a client leaves
- How to modify an existing account’s package or resource allocation as a client’s needs change
Common Mistakes First-Time Resellers Make
- Creating accounts without first setting up a proper package structure, leading to inconsistent client offerings later.
- Skipping private nameserver setup, undermining the white-label branding a reseller business depends on.
- Ignoring WHM security settings, since a compromised WHM account risks every single client hosted under it, not just one website.
- Waiting too long to set up billing automation, then facing a disorganized scramble once client numbers grow past a handful.
WHM looks intimidating on day one, but it follows a logical structure once you have created your first package and account. Take it step by step, and you will be comfortable managing your own hosting business within your first few sessions.
Ready to set up your own white-label hosting business the right way? Get started with HoganHost’s reseller hosting plans and start creating client accounts under your own brand today.