Managing DNS records is an essential task for anyone who owns a domain. Whether you need to add a new record, update an existing one, or remove an old entry, the process is straightforward when you follow the right steps. At HoganHost, we’ve made it easy for our customers to manage their DNS settings directly from their dashboard. This guide will walk you through the steps to manage your DNS records for any domain registered with HoganHost.
Step 1: Log in to Your HoganHost Dashboard
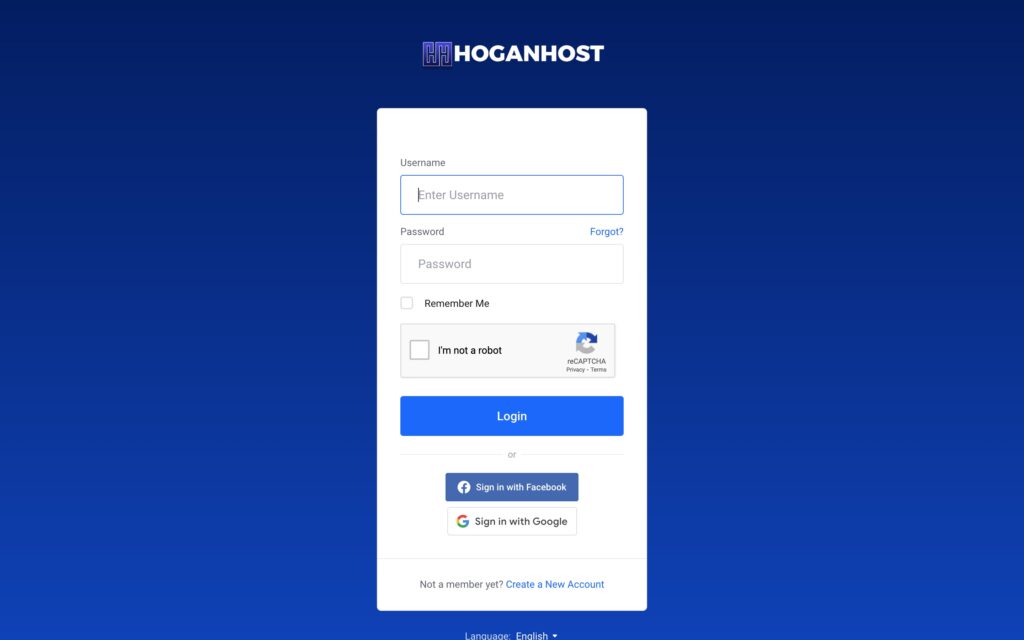
The first step in managing your DNS records is to log in to your HoganHost account. Visit HoganHost and click on the “Login” button at the top right corner of the homepage. Enter your username and password to access your dashboard.

Step 2: Navigate to the Domain Section
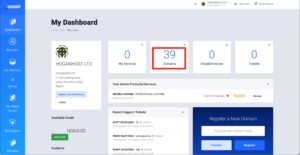
Once logged in, you’ll be directed to your dashboard, where you can manage various aspects of your account. Look for the “Domains” section, usually located in the main menu or sidebar. Click on it to view a list of all domains registered under your account.
Step 3: Select the Domain You Want to Manage
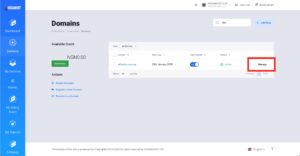
In the “Domains” section, you’ll see a list of all your domains. Find the domain for which you want to manage DNS records and click on the “Manage” button next to it. This will take you to the domain management page, where you can configure various settings.
Step 4: Access DNS Management
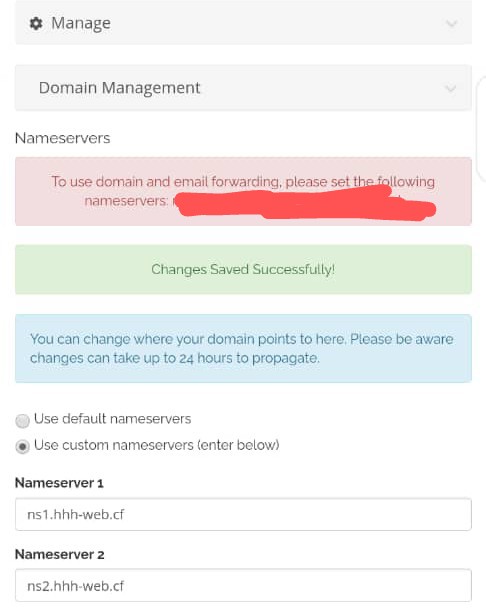
On the domain management page, you’ll find several options for managing your domain. Look for the “DNS Management” option and click on it. This will open the DNS management interface, where you can view and modify your DNS records.
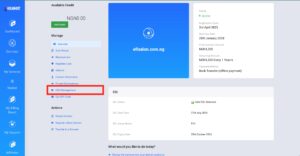
Step 5: Create or Edit DNS Records
In the DNS management interface, you’ll see options to create new records or edit existing ones. Click on the “Create” button to add a new DNS record. You’ll need to specify the type of record you want to create (such as A, CNAME, MX, etc.), the hostname, the value (IP address or target domain), and any other required details. After entering the necessary information, click “Save” to create the record.
If you need to edit an existing record, simply click on the record in the list, make your changes, and then save them.
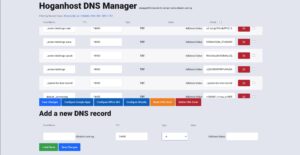
Step 6: Confirm Changes and Wait for Propagation
After saving your changes, the new DNS settings will be applied to your domain. However, please note that DNS changes may take some time to propagate across the internet. Typically, full propagation can take up to 24 hours, although changes are often visible much sooner.
Conclusion
Managing DNS records on HoganHost is a simple process that puts you in control of your domain’s configuration. Whether you’re setting up a new website, redirecting traffic, or configuring email services, the DNS management tool in your HoganHost dashboard gives you the flexibility you need. If you encounter any issues or need further assistance, our support team is always here to help.
By following these steps, you can easily manage your DNS records and ensure that your domain is set up exactly as you need it.
Check out our cheap and reliable web hosting hoganhost.com.ng

