

Once a database exists, you may need to look inside it. You might want to check a table, fix a single record, or export a copy of your data. phpMyAdmin is the web-based tool that lets you do all of this from your browser.
phpMyAdmin is built for managing databases that already exist. Make sure you have created the database first, using the steps in the earlier guides.
Step 1: Open phpMyAdmin
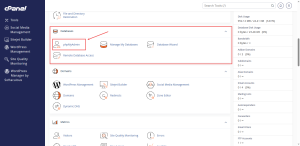
- Log in to cPanel.
- In the Databases group, click phpMyAdmin.
phpMyAdmin usually opens in a new browser tab.
Step 2: Choose Your Database
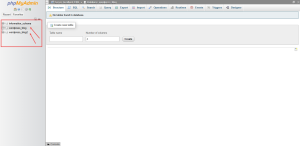
The left-hand panel lists your databases. Click the name of the one you want to work on. Its tables appear in the panel below.
Check the name carefully before you change anything. Your account may hold more than one database, and it is easy to edit the wrong one.
Step 3: Browse a Table
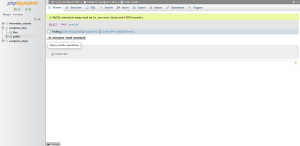
Click a table name, then click the Browse tab. This shows the rows of data in the table. From here, you can search for a specific record.
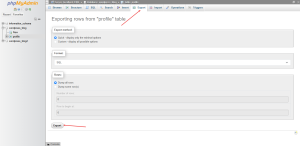
Step 4: Export a Backup Copy
Click your database name, then the Export tab. Choose the quick option for a simple copy, and click Go. The file that downloads is a copy of the database’s contents. Keep it somewhere safe before you make any big changes.
Edit With Care
Changing or deleting rows in phpMyAdmin takes effect right away. There is no undo button for a deleted table. Export a copy first, then make one change at a time. If the site behaves oddly after a change, restore from your export.
Ready to manage your databases on a plan built for them? Look at HoganHost’s cPanel shared hosting plans.