
You have a domain and a fresh hosting account, but they are not talking to each other yet. Pointing your domain to your new hosting account is the final, simple connection that actually makes your website visible to the world. Here are the steps.
Understand The Two Ways To Do This
You generally have two approaches for connecting a domain to hosting, and understanding the difference helps you choose the right one for your situation.
- Changing your nameservers, which tells your domain to use your new hosting provider’s DNS system entirely, managing all your DNS records from within your hosting control panel
- Updating individual DNS records, typically just an A record, while keeping your domain’s DNS management wherever it currently lives, such as your registrar
For most straightforward setups, changing nameservers is the simpler, more commonly recommended approach, since it hands off full DNS management to your host in one clean step.
Step 1: Get Your New Hosting Provider’s Nameservers
Log in to your new hosting account and locate your assigned nameservers, usually shown clearly in your welcome email or within your hosting control panel’s account information. These typically look like two or more addresses ending in your host’s domain.
Step 2: Log In To Your Domain Registrar
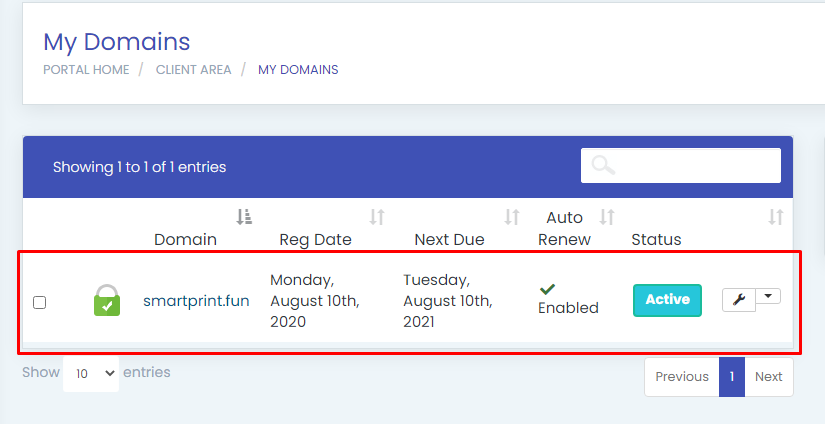
Access the account where your domain is registered, which may be your hosting provider itself if you registered your domain there, or a separate registrar if you registered it elsewhere.
Step 3: Locate Your Domain’s Nameserver Settings
Navigate to your domain management section and find the nameserver settings for the specific domain you want to point, often labeled “Nameservers,” “DNS Settings,” or “Name Server Management.”
Step 4: Replace The Existing Nameservers
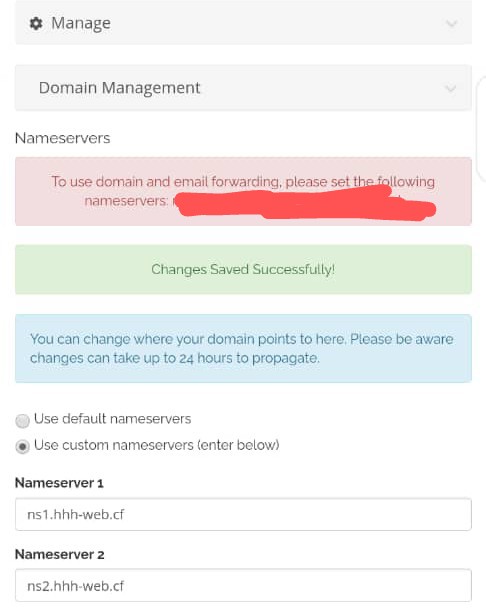
Remove any currently listed nameservers and replace them with the ones provided by your new hosting account. Enter them exactly as given, since even small formatting errors can prevent the change from working correctly.
Step 5: Save Your Changes
Confirm and save the updated nameserver settings. Most registrars display a confirmation message, though the actual change takes effect gradually rather than instantly.
Step 6: Alternatively, Update Your A Record Directly
If you prefer to keep DNS management at your registrar rather than switching nameservers entirely, you can instead update just your domain’s A record to point directly to your new hosting server’s IP address, which your hosting provider will supply.
- Locate the DNS management section at your current DNS provider.
- Find or create the A record for your root domain.
- Update the value to your new hosting server’s IP address.
- Save your changes
This approach keeps your existing DNS records for email and other services intact, only changing where your website itself is served from, which can be useful if you want to migrate your website without disrupting other services still tied to your current DNS setup.
Step 7: Allow Time For Propagation
Whichever method you use, changes take time to spread across the internet, typically ranging from a few minutes up to around 24 hours before the change is fully visible everywhere. Avoid making repeated additional changes during this window, since patience is usually the correct response rather than assuming something has gone wrong.
Step 8: Verify Your Domain Is Now Pointing Correctly
Once you believe propagation has completed, use a DNS lookup tool to confirm your domain now shows the new nameservers or A record value. Then visit your website directly to confirm it loads correctly from the new hosting account.
Step 9: Set Up Email Separately If Needed
If your business email is hosted separately from your website, or if you are moving both together, confirm your MX records are correctly configured as part of this same process, since a domain pointing correctly for web traffic does not automatically mean email is routing correctly too.
Step 10: Keep Your Old Hosting Active Briefly As A Safety Net
If you are migrating from a previous host, avoid canceling that old account immediately after pointing your domain to the new one. Keeping it active for a week or two gives you a safety net in case anything needs troubleshooting during the transition.
Common Mistakes To Avoid
- Mixing nameserver changes and individual DNS record edits inconsistently, causing confusing, inconsistent results.
- Entering nameserver addresses with typos, preventing the change from taking effect correctly.
- Panicking and making repeated changes during the normal propagation window.
- Forgetting to check MX records, breaking email even though the website itself points correctly.
Pointing a domain to a new hosting account is a simple, two-setting task once you know exactly where to look, whether you choose to switch nameservers entirely or just update a specific record.
Ready to connect your domain to reliable hosting? Get started with HoganHost’s hosting plans and get clear, exact nameserver details the moment you sign up.