
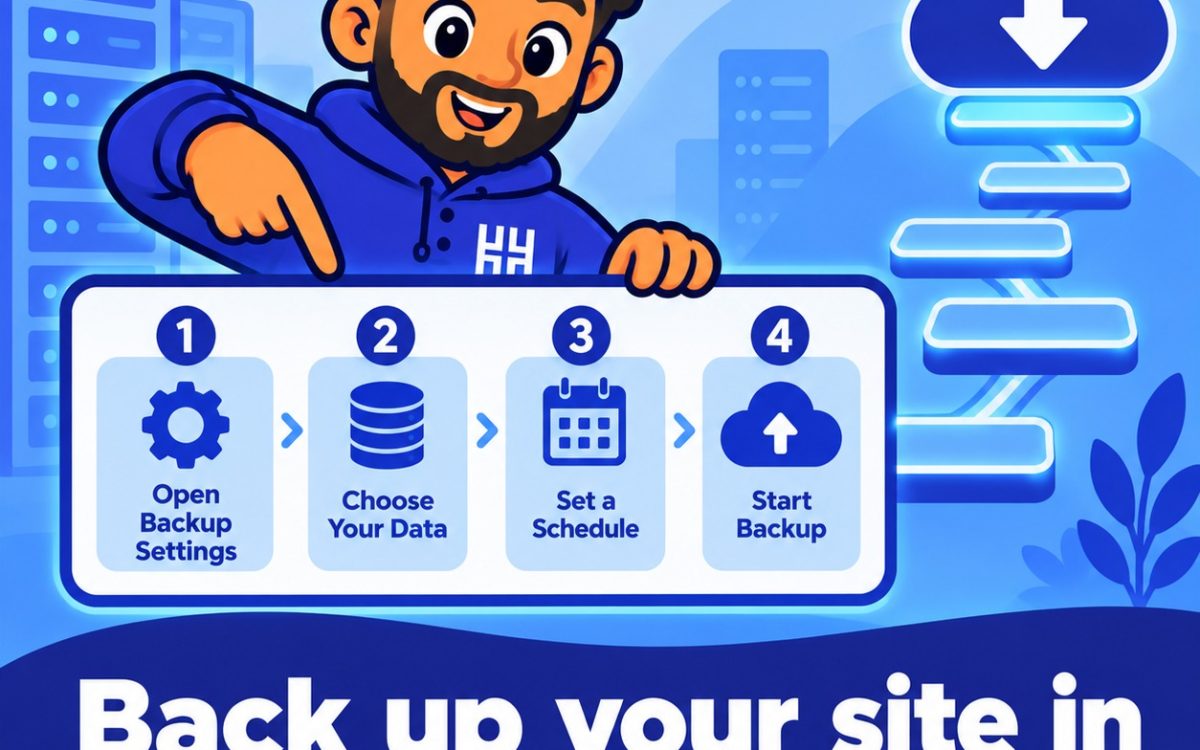
The Backup Wizard does the same job as the Backup page, but it walks you through each choice one screen at a time. If you prefer a guided process over a page full of options, this is the tool to use.
The wizard offers two paths: Back Up, which creates a copy, and Restore, which brings one back. This guide covers the backup path.
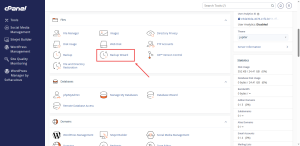
Step 1: Open the Backup Wizard
- Log in to cPanel.
- In the Files group, click Backup Wizard.
- On the first screen, click Back Up.
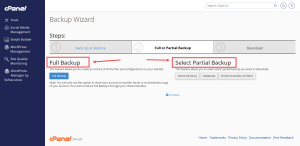
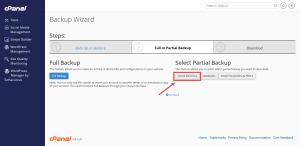
Step 2: Choose Full or Partial
Next, choose the type of backup you want.
- Full Backup packs up the whole account. Use it when you are moving your site or want a complete copy.
- Partial Backup lets you pick Home Directory, MySQL Databases, or Email Forwarders and Filters. Use it for everyday backups.
For a routine backup before a site update, a partial backup of the home directory and databases is usually enough.
Step 3: Pick a Destination
The wizard asks where the backup should go. Choose Home Directory. This saves the file inside your account so you can download it from there.
Other destinations, such as a remote FTP server or a secure copy to another computer, are available on some accounts. If you use one, check that the remote server details are correct before you start.
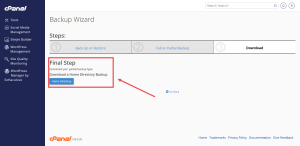
Step 4: Download the File
Once the backup is ready, it appears in the Download section of the wizard. Click the file name to download it to your computer.
Keep the file name, since it includes the date. Dated names make it easy to pick the right copy when you need to restore.
Check Before You Walk Away
Open the downloaded file on your computer and make sure it is not empty. A file with a very small size usually means the backup failed. Run the backup again, and check the account’s disk usage if it keeps failing.
If you need a backup plan built around your site, HoganHost’s cPanel shared hosting gives you the tools to start one today.