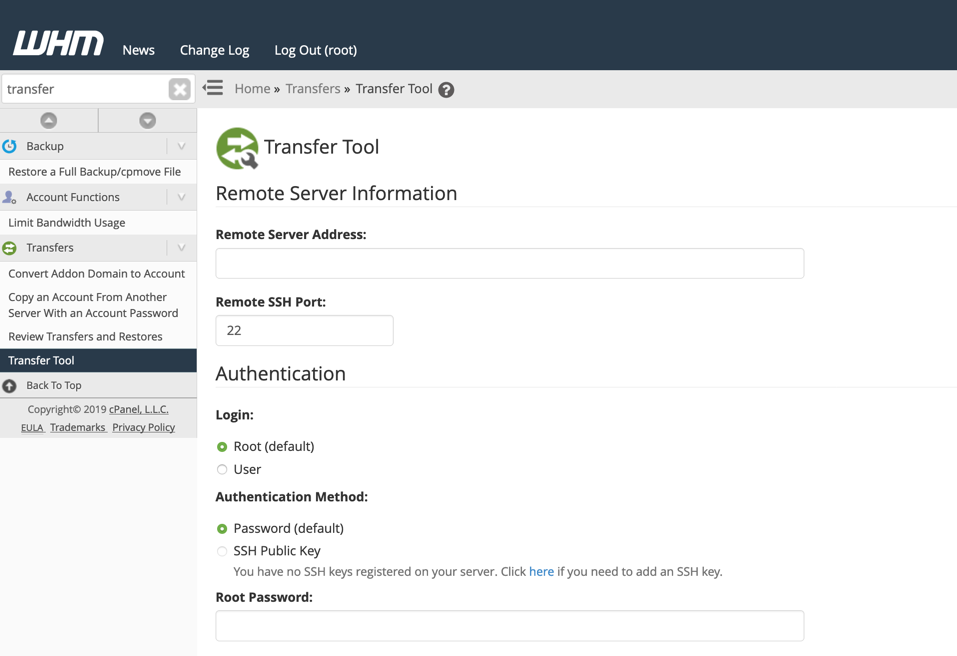
This tutorial will help you to speed up the process of your shared hosting cPanel account transfer (websites, databases, e-mail accounts and messages, FTP accounts, control panel settings) from a previous hosting provider to us. To put it another way, it will be restored on our end in case if you used cPanel before, since the control panel allows creation and restoration of backups.
To do this, you should perform the following steps:
- create a backup copy of cPanel account at your current hosting provider’s;
- upload it to your new hosting account with us.
Let’s start with the backup of Public HtmL:
1. On the main page of CPanel go to “Files” > “Backups Wizard“.
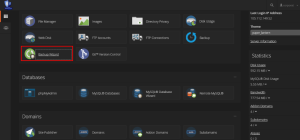
2. Now click on Backup
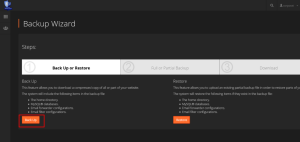
3. Click on Full Backup
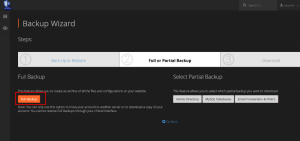
4. Click on Generate Backup
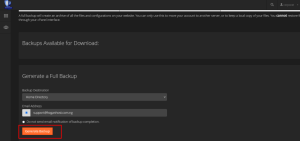
Note: Backup Destination needs to be “Home Directory” also input your email address that you want to get notification that the full backup has been generated successfully. you can Wait until generation of the backup is finished also note that generated copy will be displayed after completion of the above mentioned procedure showed below
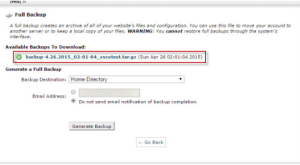
To download it to your PC, click on a name of the backup you have just made at CPanel. The selected file will be downloaded automatically.
Also the backup copy will be available in /home directory of your cPanel account so that you can download it with the help of File manager or via FTP connection.
All that is left to do is to upload the backup copy to your new cPanel account. It can be done by establishing FTP connection with the server your hosting account was activated at or through File manager which is embedded into CPanel interface.
is Time to get the website Database
This is very easy just same step you did when genrating and downloading your public html files to your pc
- Click on Backup Wizard
- Click on Backup
- Click on Mysql Databases “Showed on the image below”
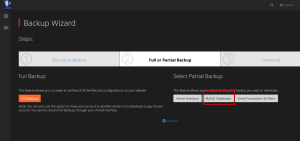
- Now click on your Database, it will automatically download to your pc “Showed on the image Below”
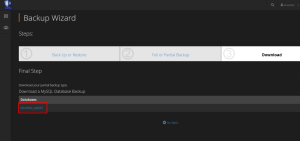
That is it, now you have gotten a full backup of your website, With full backup you generated your host master can restore your website for you from thier end but with our guild you can do it easily without stress.
Is Time to Restore The Backup on your New Cpanel Account
However, the fastest way to upload files is to use File manager. The procedure is descripted below:
1. Login to cPanel and go to “Files” > “File manager”
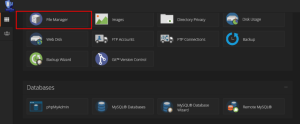
2. Upload the file of your backup to /public_html folder. To do so, make sure that you have selected public_html on the left. After that press “Upload” button on the toolbar. “Check the Image Below”
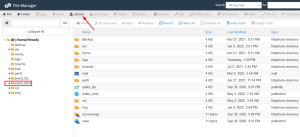
Choose the backup file which was saved on your computer earlier and wait until it gets uploaded to your new cPanel account.
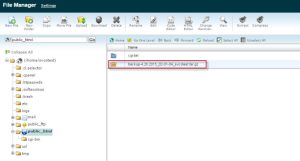
3. Extract the Backup file
Restoring of MySQL Databases and Database Connection
- login to your cpanel
- click on Backup wizard
- click on Restore
- Click on MySQL databases
- upload the database you downloaded to your pc
Note: A successfully message will popup once the database is restore successfully
How to connect the MySQL Databases
- Locate Database on your cpanel
- Click on MySQL Databases
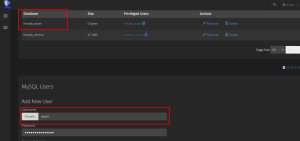
- Create MySQL Users (Let the MySQL Users name been same name of MySQL Database, input a wrong password and create user) check image below
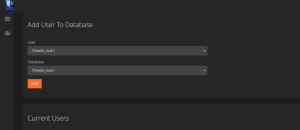
- Now Click on Add User To Database
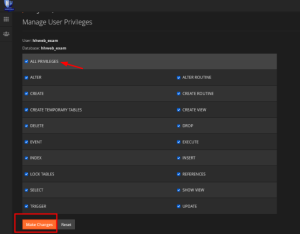
- Click on ALL PRIVILEGES and Make Change
That is it, we hope that we have guild you on how to transfers,migrate Cpanel account from your old provider ends to your new provider ends.
Note: if by any way you encounter database connection error message on your website when done with the migration kindly edit your wp-config.php by follow the steps below
- locate file manager on cpanel
- click on public html
- locate wp-config.php
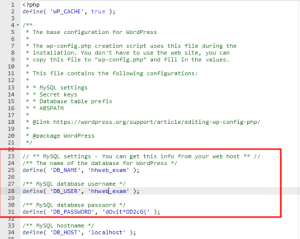
- write click and edit the wp-config.php file (Then input the database name and username name with the password you created during the database restoration.) check the image below
Then the database error message will be off from your site. Check out our web hosting very cheap hoganhost.com.ng


![How to Install cPanel on CentOS 7 [step-by-step 2021guide]](https://hoganhost.com.ng/blog/wp-content/uploads/2021/01/Install-cPanel-1024x536-1.png)
