cPanel provides a tool that you can use to transfer from cPanel to cPanel, from one server to another. This is a very powerful tool in that it makes moving from one cPanel server to another into a very simple process. Keep in mind that any configuration files that are affected by the change will still need to be changed. This tutorial walks you through the steps for the transfer process.
Please note that you can no longer create unlimited cPanels. For more information and price listings, please see our article on cPanel Pricing Changes. To learn more about the reasons behind this change, please see our FAQ on cPanel Pricing Changes.
How to Transfer from cPanel to cPanel using the Transfer Tool
A VPS or Dedicated Server with root access is required to follow the steps in this guide.
-
- Login to the WHM as root.
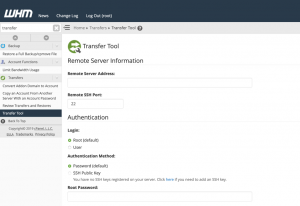
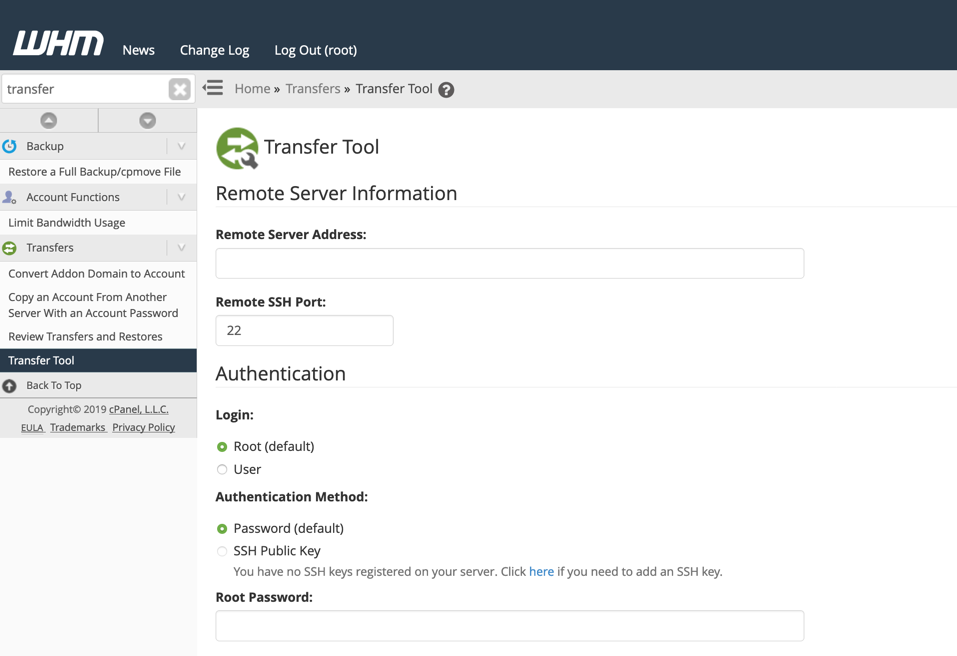
- In the menu at the left, search for and then click on Transfer Tool. You will see several options that you will need to select or fill in. They include:
| Remote Server address | Provide the URL of the account you are transferring from. |
|---|---|
| Remote SSH port | By default this is set to 22. Change it only if necessary. |
| Select the user type for Login | This can be either the root user or an account user. You will need the root user if you’re moving multiple accounts |

3. Root Password– Add the root password so that the root user can be used for authentication. If you’re using the root user leave Restricted Restore unchecked.
4. Once all of the information has been selected and added for the Remote Server Information and Authentication, click Fetch Account List.
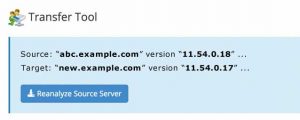
5. The Transfer Tool will compare the versions of cPanel and display them for you. You will not need to select anything for the versions.

6. You will also see a screen listing the available packages. You do not need to select anything on this screen.

7. You will then get the ability to search for the account you want to transfer. Uncheck only Express Transfer.
8. After you have finished selecting the accounts you want to transfer, click Copy.
9. At this point the Transfer Tool will begin the transfer for you. The initial transfer process should happen quickly, however the processing period depends on the size of your account.
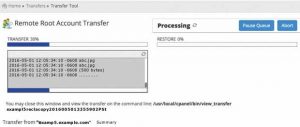
10. Then the processing is complete, you will see Additional Options. The Keep DNS Zone would need to be unchecked UNLESS your servers are in the same DNS cluster. If you have any doubts, please contact our live technical support team

After the Transfer is Completed
NOTE: If you transferred a cPanel account that already existed on the destination server, the password for that user will be restored/overwritten from the originating server. Use the cPanel user’s password (as it is set on the previous server) or reset it.
At this point, the accounts should all be transferred over to you. You may still need to re-configure configuration files, clear cache, reset permalinks, set DNS settings, re-point name servers, etc. but the selected accounts should have transferred. Once you have completed your re-configuration and your testing of the moved accounts, you can close down your old server accounts.

![How to Install cPanel on CentOS 7 [step-by-step 2021guide]](https://hoganhost.com.ng/blog/wp-content/uploads/2021/01/Install-cPanel-1024x536-1.png)

