
A fresh VPS gives you a blank, powerful server with nothing on it yet, just a command line and raw potential. Installing cPanel transforms that blank slate into a familiar, visual control panel for managing websites, email, and databases. Here are the simple steps to get it installed correctly.
Before You Start: What You Need
- A fresh VPS running a supported operating system, typically AlmaLinux or CloudLinux, since cPanel requires a specific compatible operating system to install correctly
- Root access to your server, provided by your VPS hosting provider
- A valid cPanel license, since it is licensed, paid software, with pricing that varies depending on your account tier and any additional bundled tools like CloudLinux or a backup solution
- A stable SSH connection to your server
Step 1: Confirm Your Operating System Is Compatible
cPanel only installs on specific, supported operating systems, and attempting installation on an unsupported one will fail outright. Confirm your VPS is running a compatible version before proceeding, since switching operating systems after the fact means starting your server setup completely over.
Step 2: Update Your Server First
Before installing anything, update your fresh VPS to ensure all existing system packages are current. Running an update first prevents a range of installation conflicts that can occur when cPanel’s installer encounters outdated system components.
Step 3: Set Your Server’s Hostname Correctly
cPanel installation requires your server to have a properly configured hostname, typically a fully qualified domain name like server.yourbusiness.com.ng, rather than a generic default. Set this correctly before running the installer, since an improperly configured hostname is a common cause of installation issues down the line.
Step 4: Download and Run the Official cPanel Installation Script
Connect to your server via SSH, and run the official installation command provided directly by cPanel. This script handles the bulk of the installation process automatically, downloading and configuring the necessary components without requiring manual intervention at each individual step.
The installation process typically takes a while to complete, often somewhere between thirty minutes and a couple of hours depending on your server’s resources and connection speed, so this is a good point to let it run rather than expecting an instant result.
Step 5: Complete The Initial Setup Wizard
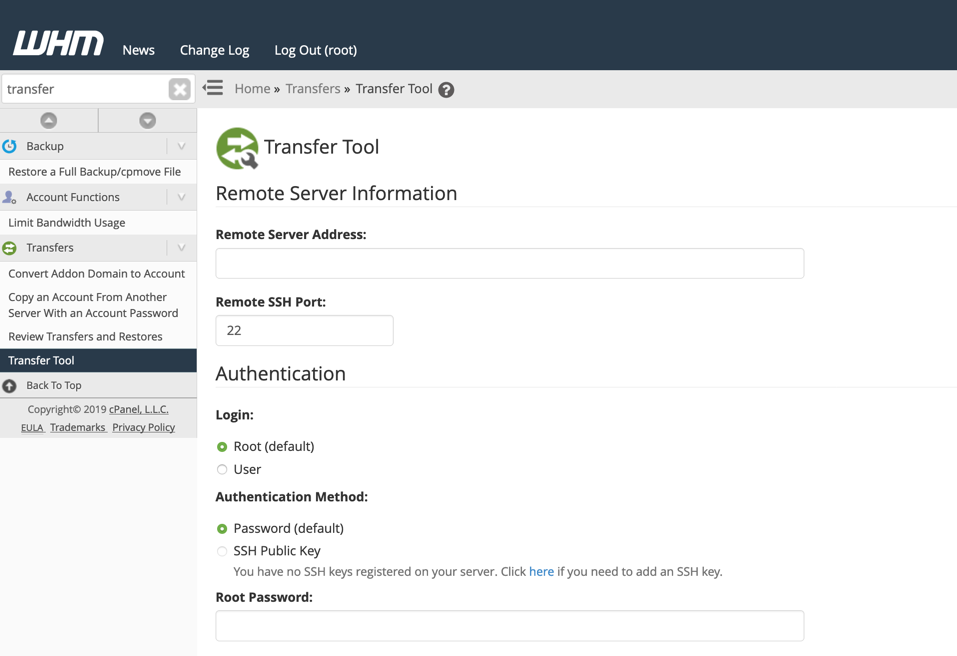
Once installation finishes, access your server’s WHM interface through a browser using your server’s IP address and the correct port. You will be guided through an initial setup wizard covering:
- Your license validation
- Basic networking and nameserver configuration
- Your contact email for server notifications
- Initial security and service configuration options
Step 6: Set Up Your Private Nameservers
If you are planning to use this VPS for your own hosting or reseller business, configure your private nameservers during this setup phase, registered under your own domain, rather than relying on generic default nameservers. This step matters particularly if you plan to offer white-labeled hosting to your own clients later.
Step 7: Secure Your New Server Immediately
A freshly installed cPanel server is a visible target the moment it is live and reachable on the internet. Before doing anything else:
- Set a strong root password and consider switching to SSH key authentication.
- Configure your firewall to allow only the ports you genuinely need
- Enable cPanel’s built-in security features, including its own firewall and intrusion detection tools.
Step 8: Configure Your Backup Settings
Set up your automated backup schedule as part of your initial configuration, rather than treating it as an afterthought. cPanel includes built-in backup functionality that can be scheduled to run automatically, protecting both your own server configuration and any client accounts you create going forward.
Step 9: Create Your First Hosting Package And Account
With cPanel and WHM fully configured, you are ready to create your first hosting package, defining resource limits and features, followed by your first actual cPanel account, whether for your own website or your first client.
Step 10: Keep Your Installation Updated
cPanel releases regular updates addressing security and stability. Confirm your server is set to receive these updates automatically, or establish a regular manual update schedule, since running an outdated cPanel installation reintroduces exactly the kind of known vulnerability risk a properly maintained server is meant to avoid.
Common Mistakes To Avoid
- Attempting installation on an unsupported operating system, causing the process to fail entirely.
- Skipping the hostname configuration step, leading to installation or later functionality issues.
- Leaving default security settings unchanged after installation completes, exposing a freshly built server unnecessarily.
- Forgetting to configure backups from the start, only realizing the gap after data is already lost.
Installing cPanel on a fresh VPS is a well-documented, largely automated process once you have the right operating system and license in place. Follow the steps in order, secure the server immediately afterward, and you have a fully functional, familiar control panel ready to manage your hosting environment.
Ready to set up a VPS with full root access to build your own control panel environment? Explore HoganHost’s VPS hosting plans and get the foundation your project needs.
![How to Install cPanel on CentOS 7 [step-by-step 2021guide]](https://hoganhost.com.ng/blog/wp-content/uploads/2021/01/Install-cPanel-1024x536-1.png)