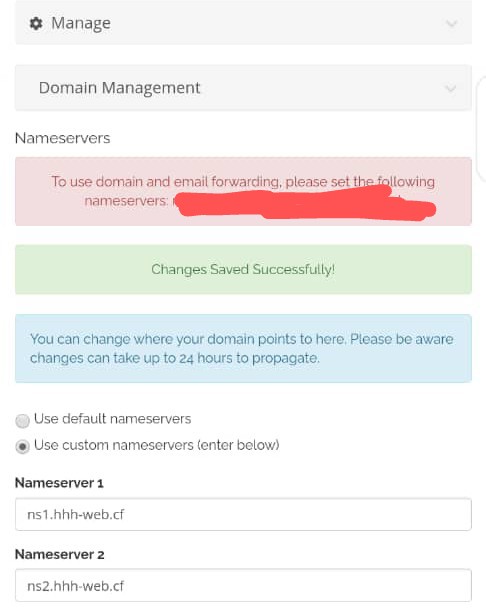
Mapping your domain name to your blogger account can be done with or without a hosting account. To achieve this without a hosting account. regsiter with cloudflare.com and add your website to cloudflare once done, get cloudflare namesever for your domain and update the nameserver to your domain and you set to go
1.Log into your Blogger account.

2.Click on the name of your blog you wish to map a domain to:

3. From the menu on the left, click Settings.
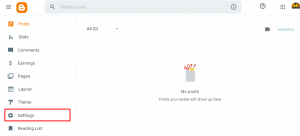
4.Under “Publishing,” click Custom domain.
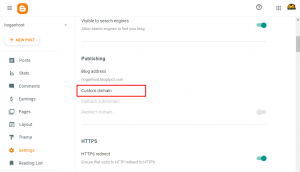
5. In the Publishing section, type the URL of the domain you’ve purchased, (www.yourdomain.com) click on the Save button. 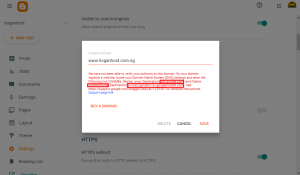
Once the page refreshes, you will see two CNAME records like the one above, and this record should be created in your domain’s Host or if using cloudflare has we recommended, For example:
Name- www
Destination: ghs.google.com
Name: 6jsohphlwcga
Destination: gv-liraz7jgmjfk5v.dv.googlehosted.com
Please note that the records above are only a sample. This is different for each person and is specific to your blog and your Google Account.
6. Login to your cloudflare account >>> Manage DNS.
8. Input the google IP addresswhich is below.
– A Records for @ pointing to
- 216.239.32.21
- 216.239.34.21
- 216.239.36.21
- 216.239.38.21
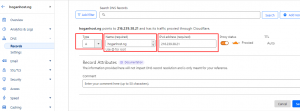
Now this is how your A record should look like
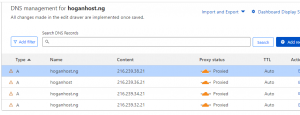
9. Add those CName google gave to you and save it
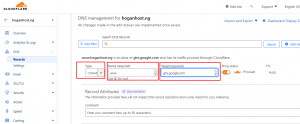
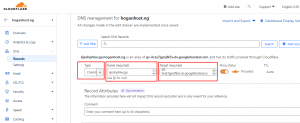
That is all and the below image is how yours should looks like
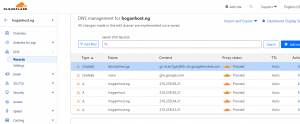
10. You will need to wait for about 24hours for the DNS changes to be updated. Then go back to your blogger account, on the same pages where the CNAME records were generated (Number 5 above), and click on SAVE.
Hola we hope this article helps out, if need cheap web hosting kinldy visit hoganhost.com.ng


