Advanced Cron Troubleshooting
If you have determined that the cron job is not completing and are familiar with using the server’s Command Line Interface (SSH), this guide shows how to identify the cause.
The cron.php script contains a number of options which can be called most easily via the server’s command line, one of which increases the verbosity of the output. This can be helpful in identifying any errors which might be occurring.
First, access your WHMCS Admin area. Then, go to Configuration > System Settings > General Settings > Other, or Setup > General Settings > Other for WHMCS 7.10 and earlier.
Check Display Errors and then click Save Changes.
.
Next, navigate to Configuration > System Settings > Automation Settings (Setup > Automation Settings for WHMCS 7.10 and earlier).
Click on the Cron Status badge:

In the modal which appears, copy the Cron Command :

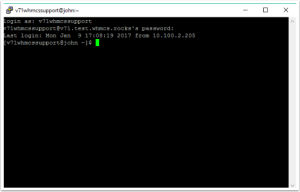
Access your server’s Command Line Interface:

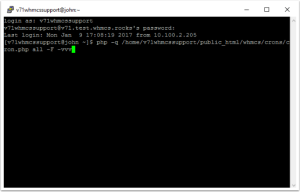
Paste the Cron Command into the Command Line Interface. At the end of the command, add the following command and options:
all -F -vvvThe all command will execute all the tasks.
The -F option forces all the tasks to be executed, even if some of the daily tasks have already been performed today
The -vvv option sets the output verbosity level to maximum, meaning everything which can be output will be output.
You should now be ready to execute a command similar to:
php -q /home/v71whmcssupport/public_html/whmcs/crons/cron.php all -F -vvv
Press Enter to execute the command.
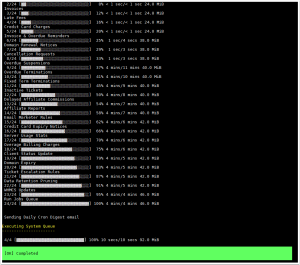
On screen you will see the cron.php script progress through all 24 tasks and return a green [OK] Completed message at the end.

The above screenshot shows a successful execution.
Check out our web hosting service hoganhost.com.ng


