
A domain name on its own does nothing. It is just a reserved address until you tell it exactly where to send visitors, and that connection to hosting is the step that actually turns a name into a working website.
Here is a clear rundown of how that connection actually works.
The Two Pieces You Are Connecting
Your domain registration controls ownership of the name itself. Your hosting account is where your website files, database, and email actually live. Connecting them means pointing the domain toward that hosting, so a visitor typing your address actually lands on your content.
Method 1: Changing Your Nameservers
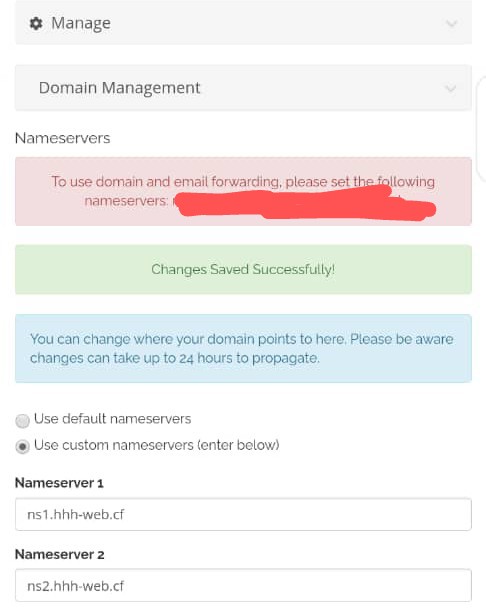
This is the standard approach for a domain that is going to be fully managed through your hosting account going forward.
- Get your hosting provider’s nameserver addresses, usually shared in your welcome email or hosting dashboard.
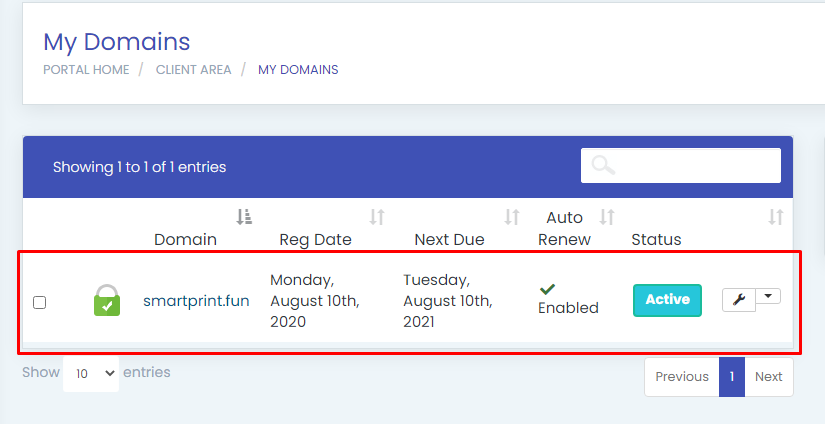
- Log in to wherever your domain is registered.
- Open the domain’s DNS or nameserver settings.
- Replace the existing nameservers with the ones your host provided.
- Save the change and allow time for it to spread across the internet.
Once this settles, usually within a few hours but sometimes up to 48, all of your domain’s DNS records are managed inside your hosting control panel from that point forward.
Method 2: Adding a Single DNS Record
If you want to keep managing most of your DNS elsewhere, adding just an A record pointing to your hosting server’s IP address is a lighter touch option. This works well if other services, like a third-party email provider, already depend on DNS records you do not want to disturb.
Adding the Domain Inside Your Hosting Account
Pointing the domain toward your host is only half the job. The hosting account itself also needs to know to expect that domain.
- Log into your hosting control panel, typically cPanel.
- Open the domain management section and add the domain, marking it as your primary domain or as an addon domain if you already have another site on the account.
- Set the document root, which is the folder where your website files will actually sit.
- Upload your site files or run an installer for whatever platform you plan to use.
Understanding Propagation Delays
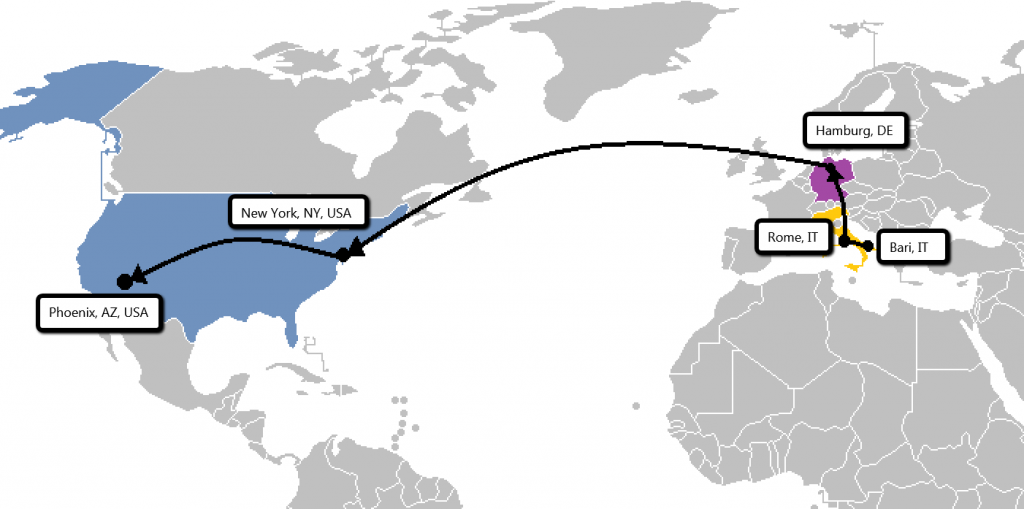
Once you make either kind of change, it does not update instantly everywhere at once. Different internet providers cache DNS information for different lengths of time, which is why some visitors may reach your new setup before others do.
A few things affect how long this takes.
- TTL settings on the relevant DNS records
- Your domain’s recent DNS history, since a domain with no prior changes tends to update faster
- Regional differences in how quickly various networks refresh their DNS caches
Confirming the Connection Worked
Rather than guessing, check a few concrete signs before assuming something is broken.
- Does the site load correctly in a private or incognito browser window?
- Does it load the same way from a different network, like mobile data?
- Does a DNS lookup tool show your new nameservers or IP address correctly?
Common Reasons the Connection Does Not Work Right Away
A few predictable mistakes account for most connection problems.
- A typo in the nameserver or IP address, which is worth double-checking character by character.
- Not enough time has elapsed for propagation, especially if changes were made only an hour or two ago.
- The domain not actually added inside the hosting account itself, leaving the server with nowhere to route the incoming request.
A Connection That Just Works
Getting this step right the first time avoids a confusing stretch where your domain seems broken but is really just waiting to catch up, or is missing one small configuration step on either side.
Ready to connect a domain and get a website live without the guesswork? HoganHost’s shared hosting plans come with clear setup guidance, so your domain and hosting link up correctly from the start.