You just signed up for hosting, received a welcome email full of unfamiliar terms and login details, and now you are staring at cPanel for the first time, wondering where to even begin. Here is exactly how to get properly set up, step by step.
Step 1: Locate Your Login Details
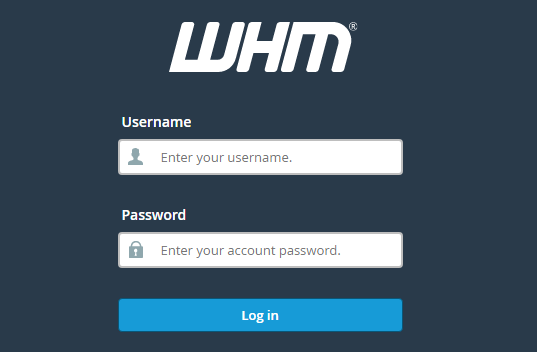
Your hosting provider sends your cPanel login information, typically a specific URL, your username, and a password, shortly after your account is created. This usually arrives by email, so check there first, including your spam folder if it does not appear within a few minutes.
Step 2: Log In And Change Your Password Immediately
Once you access cPanel using your provided credentials, one of your very first actions should be changing your password to something strong and unique that you have chosen yourself, rather than continuing to use the auto-generated one. Look for the Password & Security section within cPanel to make this change.
Step 3: Get Familiar With The Dashboard Layout
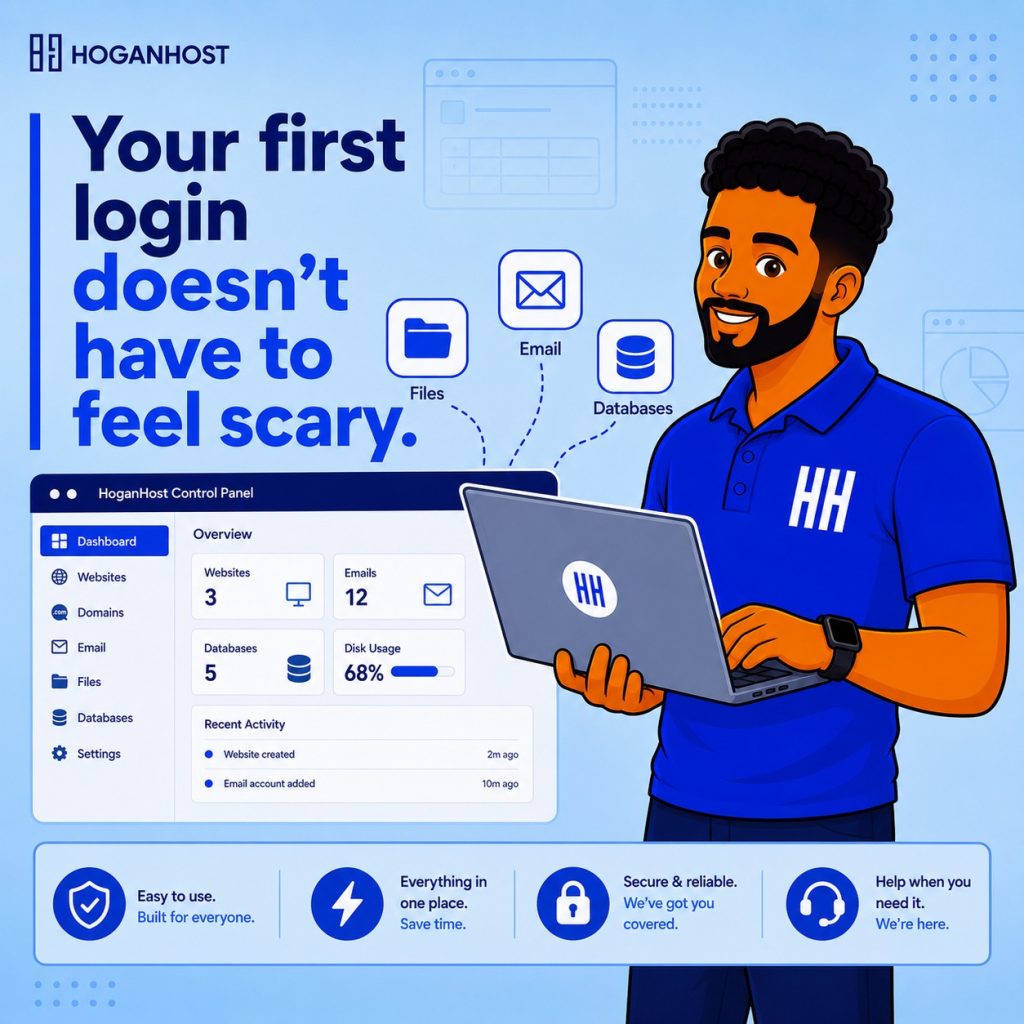
Before making any changes, spend a few minutes simply looking around. cPanel organizes its features into clear categories, typically including Files, Databases, Domains, Email, Metrics, and Security. Understanding roughly where each type of task lives saves considerable time later, rather than hunting for a specific tool every time you need it.
Step 4: Confirm Your Domain Is Properly Connected
Check the Domains section to confirm your domain is correctly associated with your hosting account. If you registered your domain separately from your hosting, ensure you have already pointed your domain’s nameservers or DNS records to your hosting provider, since this connection is what actually makes your website accessible once you have content live.
Step 5: Set Up Your Business Email Account
Navigate to the Email Accounts section and create your first professional email address on your own domain, such as [email protected]. This typically takes less than a minute and gives you a properly branded email address ready to configure on your phone and computer.
Step 6: Install Your Website Platform
If you plan to build your website using WordPress or another popular platform, look for a one-click installer, often called Softaculous or QuickInstall, usually found in the Software section of cPanel. This automates the installation process considerably, handling the technical setup steps for you in just a few clicks.
Step 7: Set Up Your SSL Certificate
Locate the SSL/TLS section and confirm a free SSL certificate is either already active or ready to be activated for your domain. Most modern hosting accounts include AutoSSL, which handles this automatically, but it is worth confirming directly rather than assuming, since a missing certificate will show visitors a “Not Secure” warning.
Step 8: Familiarize Yourself With The File Manager
The File Manager lets you view, upload, and edit your website’s actual files directly through your browser, without needing separate FTP software. Open it and locate your public_html folder, since this is where your website’s core files will live.
Step 9: Check Your Backup Settings
Look for a Backup or Backup Wizard section within cPanel, and confirm whether automated backups are already configured for your account, or whether you need to set this up yourself. Understanding this now, before you have built anything significant, means you are protected from the very beginning rather than discovering a gap only after something goes wrong.
Step 10: Review Your Resource Usage Section
Most cPanel accounts include a section showing your current disk space, bandwidth, and other resource usage against your plan’s limits. Bookmark or note where this lives, since checking it periodically as your website grows helps you catch a resource limit issue before it becomes an actual problem.
Step 11: Explore The Security Section
Take a look at the Security category within cPanel, which typically includes tools like two-factor authentication setup, IP blocking, and hotlink protection. Enabling two-factor authentication on your cPanel login specifically is a smart, quick step worth doing during this initial setup, rather than leaving it for later.
A Simple First-Time Setup Checklist
- Log in and change your password.
- Explore the dashboard categories to understand the layout.
- Confirm your domain is properly connected.
- Create your first business email account.
- Install WordPress or your chosen platform.
- Confirm SSL is active.
- Locate your File Manager and public_html folder.
- Check and configure your backup settings.
- Enable two-factor authentication.
Common Mistakes First-Time Users Make
- Never changing the initial auto-generated password.
- Skipping the backup configuration check, only discovering a gap after already losing something.
- Diving straight into building a website without confirming SSL and email are set up first.
- Ignoring the resource usage section entirely, missing early warning signs as the website grows.
Setting up cPanel for the first time feels overwhelming mainly because of unfamiliar terminology, not genuine complexity. Work through this checklist once, and every future visit to your dashboard becomes considerably more comfortable and familiar.
Ready to get your first cPanel hosting account set up properly? Get started with HoganHost’s hosting plans and get clear support through every step of your first setup.
![How to Install cPanel on CentOS 7 [step-by-step 2021guide]](https://hoganhost.com.ng/blog/wp-content/uploads/2021/01/Install-cPanel-1024x536-1.png)