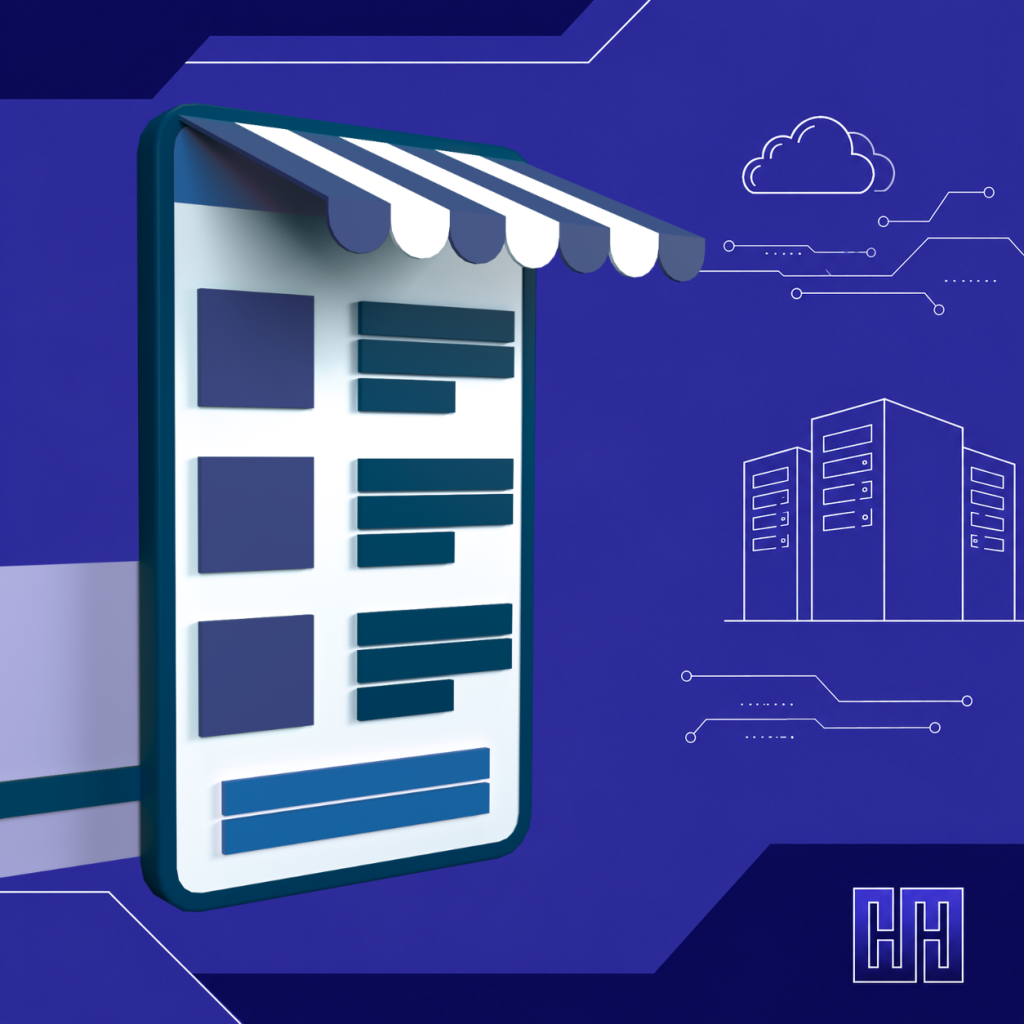
You have products to sell, and you are done relying only on WhatsApp broadcasts and Instagram DMs to close a sale. It is time to build a proper online store.
It sounds like a big technical project, but broken into steps, setting up your first online store is very manageable, even without a development background.
Step 1: Choose Your E-commerce Platform
Your platform decision shapes everything else, so start here.
- WooCommerce (on WordPress) is the most popular choice for Nigerian small businesses. It is free to install, highly customizable, and works well on standard shared hosting.
- Hosted platforms like Shopify handle more of the technical setup for you, but come with ongoing subscription costs on top of your hosting.
- A fully custom-built store offers maximum flexibility but requires a bigger budget and development timeline, usually unnecessary for a first store.
For most first-time Nigerian sellers, WooCommerce on affordable hosting offers the best mix of low cost, flexibility, and control over your own data.
Step 2: Get Your Domain and Hosting Sorted
Your store needs a proper home. Register a domain that matches your business name, and choose hosting that can handle product images, a database, and secure checkout traffic without slowing down.
Look for hosting that includes:
- SSD or NVMe storage for faster load times, since slow product pages hurt conversions directly
- A free SSL certificate, which is non-negotiable for any store handling payment information
- Enough storage and bandwidth to handle product images and growing traffic as your store gets busier
Step 3: Install Your Store Platform
If you are using WordPress and WooCommerce, most hosting control panels offer a one-click installer for WordPress, after which WooCommerce installs as a plugin from inside your WordPress dashboard.
Once installed, WooCommerce walks you through a setup wizard covering your store location, currency (Naira), and basic shipping settings.
Step 4: Set Up A Nigerian Payment Gateway
This is the step that actually lets you get paid, so do not rush it.
Paystack and Flutterwave are the two most widely used payment gateways among Nigerian online stores, and both offer official WooCommerce plugins for straightforward integration.
Before you can go live with either one, you will typically need:
- A business bank account, ideally registered under your business name.
- Basic business verification details (CAC registration helps, though not always mandatory depending on the gateway and account type)
- A completed KYC (Know Your Customer) verification process, which both gateways require before releasing full transaction limits
Many sellers set up both Paystack and Flutterwave as backup options, since occasional downtime on one gateway is a normal part of running an online business, and having a second option keeps sales flowing.
Step 5: Add Your Products Properly
Rushed product listings quietly kill sales. For each product, include:
- A clear, accurate title, not just a brand name
- At least two to three photos, taken in good lighting from different angles
- A short but specific description covering size, materials, or key details a buyer would actually ask about
- Accurate pricing, including any delivery charges, so customers are not surprised at checkout
Step 6: Set Up Shipping and Delivery Options
Decide upfront how you will handle delivery, since this affects your checkout setup:
- Flat-rate shipping is charged the same regardless of location.
- Local pickup, if you serve a specific city or area
- Delivery partner integration, if you are using a courier service with tracking
Whatever you choose, make your delivery terms visible before checkout, not as a surprise afterward.
Step 7: Test The Full Buying Journey Yourself
Before announcing your store is open, walk through the entire process as if you were a customer:
- Browse to a product page and add it to your cart.
- Proceed through checkout using a real test transaction if your gateway supports sandbox mode.
- Confirm you receive an order notification.
- Check that the customer receives a confirmation email.
- Confirm that the payment actually reflects in your gateway dashboard.
Step 8: Prepare For Common Early Problems
- Failed payments. Offering two gateways reduces lost sales when one has an issue.
- Cart abandonment. Keep checkout short. Every extra required field is a chance for a customer to give up.
- Slow product pages. Compress your product images before uploading, since oversized photos are one of the most common causes of a sluggish store.
- Fraud attempts. Enable your payment gateway’s built-in fraud monitoring tools and watch for unusual order patterns, like multiple failed attempts on the same card.
Your first online store does not need to be perfect on day one. It needs to load quickly, accept payment reliably, and clearly show what you are selling. Get those fundamentals right, and you can refine the rest as real customers start buying.
Ready to launch your store on hosting built to handle real traffic and secure checkouts? Set up your online store with HoganHost’s web hosting and web design services and start selling with a store that actually performs.