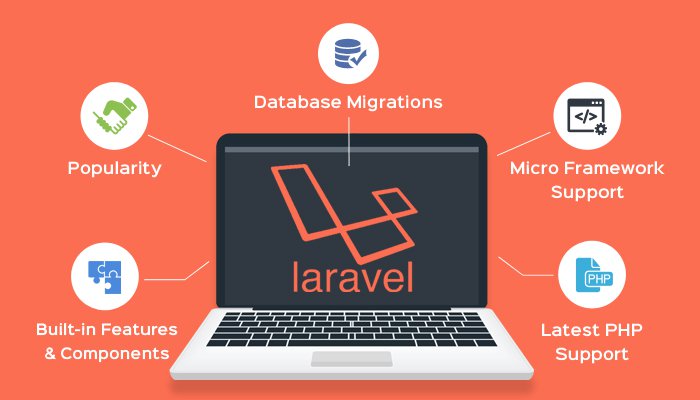
Laravel is one of the PHP language frameworks designed for web application development and works on an MVC basis. The Laravel Framework makes it easy to program PHP web applications and helps make PHP projects easy to develop. The Laravel framework is built on various components of the Symfony framework and gives your program a great base of reliable and tested code if you install Laravel.
Laravel provides a collection of the best solutions with meaningful and creative syntax that are done right. As a result, by simplifying common tasks such as authentication, routing, sessions, working with databases, etc.
Which is used in almost all web projects, Laravel reduces development problems for both the developer and the client. Laravel, Symphony, KickPh, and Igniter code are some of the most popular PHP language frameworks, which test their popularity on Google Trend, reflecting the growing growth of Laravel frameworks.
Why should we learn and use Laravel?
- Easy to learn and update
- Facilitate routine programming tasks such as authentication, routing, sessions, and caching
- Quick and easy setup of multiple environments and relationships
- Enjoying Remote Component
- Limit Eloquent with simple commands
- Improve speeds and increase speeds by 100%
- Make the development process pleasant for developers without compromising program capabilities
- Use standard bundle style in earlier versions and use packages in the new version
- Run multiple unit tests with very simple commands
- Easy access to databases and ease of modifying and controlling code and updating and developing applications
- Using Blade Templates Engine

How to install Laravel on CentOS 7
Step 1 – ADJUST YUM REPOSITORY SETTING
First of all, we need to add REMI and EPEL rpm repositories to the Centos system. These containers have updated packages.
Connect to VPS with Putty and run the below command:rpm -Uvh http://dl.fedoraproject.org/pub/epel/7/x86_64/Packages/e/epel-release-7-11.noarch.rpm
Then
rpm -Uvh http://rpms.famillecollet.com/enterprise/remi-release-7.rpm
Step 2 – Install Apache, MySQL, and PHP(LAMP)
Here is a brief guide to installing LAMP. You need to run the Laravel framework on your CentOS system
Use this command to install Apacheyum --enablerepo=remi,epel install httpd
To install MySQL use the following commands
yum --enablerepo=remi,epel install mysql-server
Then
service mysqld start
Then
/usr/bin/mysql_secure_installation
To install PHP using the following command
yum --enablerepo=remi,epel install php php-zip php-mysql php-mcrypt php-xml php-mbstring
Then restart the Apache
service httpd restart
Step 3 – Install Composer
Composer is required to install Laravel and one of Laravel’s prerequisites is to install.
You can install Composer using the following commandscurl -sS https://getcomposer.org/installer | php
Then
mv composer.phar /usr/bin/composer
Then
chmod +x /usr/bin/composer
Step 4 – Install Laravel
You can install the latest version of Laurel using the following command
cd /var/www
Then
git clone https://github.com/laravel/laravel.git
After entering the above command, use Composer to solve the Laravel prerequisite problem
cd /var/www/laravel
Then
composer install
The prerequisite installation is a bit long but wait until it’s fully installed and enter the following commands
chown -R apache.apache /var/www/laravel
Then
chmod -R 755 /var/www/laravel
Then
chmod -R 755 /var/www/laravel/storage
Use the command to write to the storage directory
chcon -R -t httpd_sys_rw_content_t /var/www/laravel/storage
Step 5 – Set the Encryption Key
Laravel uses the .evn file to configure the environment. Use the .evn file to configure all the environment variables for your program such as database, SMTP, security key, etc.
cp .env.example .env
Now set the 32-bit random encryption key given to you by the Illuminati Encryption Service
php artisan key:generate
Then
Application key set successfully.
Step 6 – Create Apache Virtual Host
Now add a virtual host to your Apache configuration file to access Laravel through the web browser.
To do this, edit the Apache /etc/httpd/conf/httpd.conf configuration file and add the following code at the end of the file.Enter the following command to edit the Apache configuration file
vim /etc/httpd/conf/httpd.conf
Put the following command in this file
<VirtualHost *:80>
       ServerName laravel.example.com
       DocumentRoot /var/www/laravel/public

       <Directory /var/www/laravel>
              AllowOverride All
       </Directory>
</VirtualHost>
Restart the Apache service and access Laravel using your favorite web browser and start developing a great web application.
Use the following command to restart Apache serviceservice httpd restart
Now access your Laravel website in a web browser using the server name that we have defined.
The username that we have used is laravel.example.com
As easy as this, we can install Laravel on CentOS 7. Finally, you can buy a cheap VPS and run Laravel on it.
We hope you enjoy this article and find it useful.
Share your comments with us.
Be victorious and successful.


