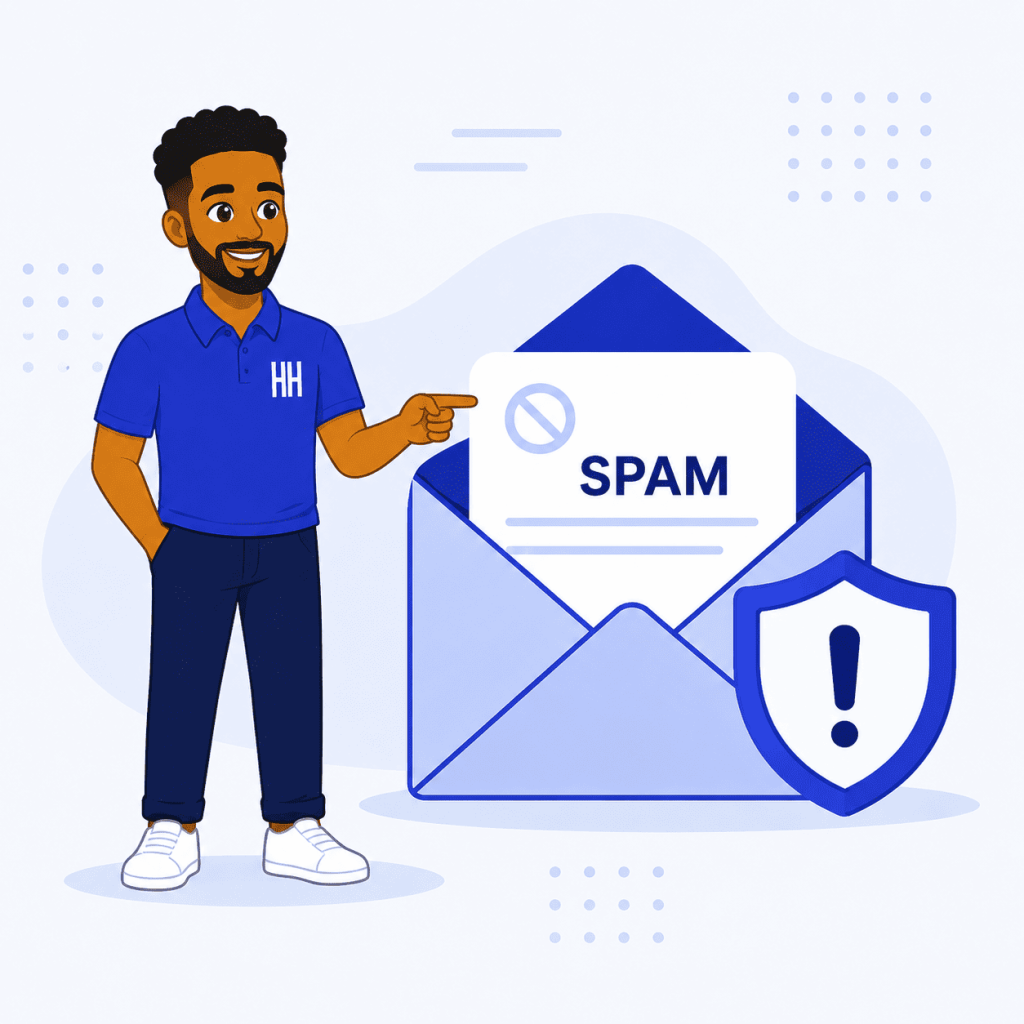
You send an invoice, a proposal, or a simple reply, and your customer never sees it because it lands quietly in their spam folder. This is one of the most damaging and most fixable problems a small business can face.
Here is what actually causes this and how to fix it properly.
Why This Happens More Often Than Business Owners Realize
Email providers like Gmail and Yahoo have tightened their spam filtering considerably. Both providers now enforce strict authentication requirements, and mail that fails to meet them gets filtered, delayed, or rejected outright, regardless of how genuine or important the message actually is.
The good news is that almost every case of legitimate business email landing in spam comes down to a small, fixable set of technical and behavioral issues.
Step 1: Check Your Domain Authentication Records
Three DNS records work together to prove your emails are genuinely coming from you and have not been tampered with in transit.
- SPF (Sender Policy Framework) lists which mail servers are authorized to send email on behalf of your domain.
- DKIM (DomainKeys Identified Mail) adds a cryptographic signature to your outgoing messages, proving they were not altered after leaving your server.
- DMARC (Domain-based Message Authentication) ties SPF and DKIM together with a policy telling receiving servers what to do with messages that fail authentication.
Missing any one of these significantly increases the odds of your email landing in spam, since major providers now treat unauthenticated mail with real suspicion by default.
Step 2: Set Up SPF Correctly
Log in to your domain’s DNS management, ideally through your hosting provider’s DNS panel, and check whether an SPF TXT record already exists. If not, add one listing your mail server as an authorized sender.
Keep your SPF record clean and avoid stacking too many nested lookups from multiple services, since providers like Google flag overly complex SPF records as a potential compliance issue in themselves.
Step 3: Set Up DKIM Signing
Most modern hosting control panels include a straightforward option to enable DKIM signing for your domain’s outgoing email. Once enabled, a corresponding DKIM record needs to be published in your DNS settings, which your hosting provider typically generates and provides for you directly.
Step 4: Publish A DMARC Policy
A DMARC record tells receiving mail servers exactly what to do if a message claiming to be from your domain fails SPF or DKIM checks. Start with a monitoring-only policy while you confirm everything is working correctly, then move toward a stricter quarantine or reject policy once you are confident your legitimate mail passes consistently.
This stronger policy setting is increasingly expected by major providers, and messages without any DMARC record at all are treated with more suspicion than those with even a basic monitoring policy in place.
Step 5: Confirm Your Sending Reputation Is Clean
Beyond technical records, providers also track your domain and IP address’s sending reputation over time.
- Avoid sending sudden, large bursts of email that look like spam behavior, even if the content is entirely legitimate.
- Keep your spam complaint rate low by only emailing people who expect to hear from you.
- Avoid purchased or scraped email lists entirely, since these generate high spam complaint rates that damage your reputation quickly.
Step 6: Check Your Message Content And Formatting
Certain patterns in email content still trigger spam filters, even with perfect technical authentication in place.
- Avoid excessive capital letters, multiple exclamation marks, or overly promotional language in your subject line.
- Include a proper, real physical or business address in your email footer where relevant.
- Avoid attaching unusual file types that automated filters commonly associate with malware.
Step 7: Test Before You Trust It Is Fixed
Send a test email to a Gmail address, then check its authentication results directly rather than assuming your setup is correct. Most email clients let you view the original message headers, where you can confirm SPF, DKIM, and DMARC are all showing as passed rather than failed or missing entirely.
Step 8: Ask Recipients To Whitelist Your Address
For important, recurring business contacts, ask them to add your email address to their contacts or safe sender list. This small action significantly improves the odds of your future messages landing directly in their inbox rather than spam.
Common Mistakes That Keep Emails Landing In Spam
- Never checking whether SPF, DKIM, and DMARC are actually configured, assuming default hosting settings already handle this fully.
- Publishing an SPF record but skipping DKIM entirely, which alone can still trigger filtering issues with strict providers.
- Sending promotional-style language from a personal or transactional-looking address confuses filters about the nature of the message.
- Ignoring a sudden spike in spam complaints damages sending reputation for future email even after the immediate issue is resolved.
Fixing email deliverability is rarely about one single dramatic mistake. It is usually a combination of missing authentication records and reputation habits that, once corrected together, restore your business email to where it belongs, in front of your actual customers.
Want hosting that makes setting up proper email authentication straightforward? Get business email hosting from HoganHost with the DNS tools you need to fix deliverability once and for all.